BAT Hat

You always need a good  acronym when developing a new project.  BAT = “Blind Assistance Technology”.

I came up with an idea… sometime last year while working on my “Ponar” tech, to make a device that would help one navigate blindly, by sonar.  It’s been a really slow process to get this prototype off the ground:  Work\life\learning all take their time.  But I finally got something functional.  During development, other similar items have appeared on the web (a Ping\servo glove-based solution, for example).  And they’re great!  But I’ll just start out by saying this idea came to me on its own, not that others haven’t already envisioned it\implemented it (better) elsewhere.

Conceptually, it’s a device you wear on your head that can sense the world around you via ultrasonic sensors.  Based on a certain distance, motors attached to the device will vibrate, tactually telling you you’re getting close to something.  There are a total of three sensors\motors mounted on the front, and each side.

The brains are an Arduino (Uno).  Parallax Ping))) sensors are used for the ultrasonic distance readings, and vibrating DC motors from Xbox 360 controllers are used to convey the distances to the user.  The framework I used to hook everything up was an old hat, using shapelock to form brackets for the motors, Ping))) sensors, & battery pack, and zipties to hold everything else.  Originally I had a single 9v battery powering it,… but…. it made the device was unreliable.  I switched to 6xAA batteries (still 9v total), and it’s much happier now.

Parts List:

Video of my boy wearing the hat, walking around his room:
More info below the pics:

Here is a Fritzing image of how the whole thing was wired together:

And here’s a link to the Arduino code.

Project Notes:

  • After some research online, I figured out that the rumble motors I received from a friends Xbox 360 controllers only need 2v:  Originally I had a system setup with transistors driving them from the battery directly, but this realization simplified the process.  Furthermore, my multimeter claims they draw less than 20 mA, which makes them safe to be driven off the Arduino’s pins.
  • The motors are driven off PMW Arduino pins so I can vary the voltage as distance changes.  In the current configuration, they’ll start to spin as they approach items 1.5m away, and are at full velocity at 1m.
  • If I can, I’m going to pick up some pager-motors:  They shouldn’t vibrate one’s head as much as those rumble-motors 😉
  • I also have three servos:  It would be interesting to see how well one’s head could ‘detect’ their pressure.
  • I had originally powered the system with a single 9v battery.  But the Ping))) sensors and motors wouldn’t behave properly.  When connecting the Arduino over USB for debugging purposes everything worked fine… which didn’t make sense to my limited electrical knowledge:  USB is only 5v, while the battery pack was 9v.  However, my guess is that the 9v battery wasn’t providing enough current for the whole system, while the USB was.  So I switched out for a 6xAA battery pack (equaling 9v total) and everything started working properly.  Presumably however, since the Arduino/Ping only needs 5v, and the motors only 2v, a 4xAA battery system (6v) should work fine.
Final Thought:
  • Honestly, it doesn’t work as well as I envisioned when starting.  But that was a pretty high bar I set myself.  Don’t get me wrong, it works fine.  But in my head I’d have this robust system of navigating blindly.  However, with only three motors, that detect obstacles at eye level front, left, and right, you’ll still run into problems with items at knee height.  And with ultrasonic sensors, ‘fuzzy’ items like pillows don’t reflect well, and the less perpendicular you are to a surface the less likely it is to reflect the sound back.  Doubling the number of sensors\motors would be a good start.  Or additional systems hooked up to one’s waist, and knees, or even feet.
  • I’d be very interested to have someone who is actually blind give this a try.  If you know anyone in the San Francisco peninsula who is blind and would be up for it, let me know.


Kivy: Cross-platform application development with Python

I recently ran across Kivy, which in a nutshell lets you…. “develop (multi-touch) applications on Windows, Mac, Linux and Android using Python”.

I have yet to use it, but to me, this sounds awesome:  While I love the Processing API and how easy it is to get a sketch onto an Android device, I love writing code in Python even more.  The though of being able to create graphical Python apps that run on both a laptop \ Android device is pretty enticing.

Ostrich-Egg Bot and Processing

One of the main goals I have with using the Ostrich-Egg Bot is to generate art for it via Processing.  I’ve successfully drawn and etched a variety of random svg graphics onto a variety of surfaces.  Next step was to get that art from Processing.

Turned out to be a bit more difficult than I expected:  Processing has no native API call for exporting svg’s (that I can find).  But I finally grasped the fact that it can export pdf files via its pdf library.  And these, when imported into Inkscape, have the exact paths you need to plot.  Here’s a vid of the etcher in action based on a Processing-generated image:

And here’s the source for a simple Processing sketch that makes use of this:  The sketch draws a bunch of overlapping circles, larger on the bottom, smaller on the top, and makes sure there is no seam on the edge:

// eggbot_circles01

import processing.pdf.*;

int eggWidth = 3200;
int eggHeight = 800;
int minSize = 32;
int maxSize = 256;

void setup() {
  size(eggWidth, eggHeight);
  smooth();
  background(255);
  frame.setTitle("Eggbot: Circles01");
  noFill();
  beginRecord(PDF, "processingCircles.pdf");
}

void draw() {
  float[] pos = {
    random(width), random(minSize/2, height-maxSize/2)
  };
  float eSize = map(pos[1], minSize/2, height-maxSize/2, minSize, maxSize);
  ellipse(pos[0], pos[1], eSize, eSize);

  // Tile the circles on the x axis:
  if (pos[0] < eSize/2) {     
    ellipse(pos[0]+width, pos[1], eSize, eSize);   
  }   
  else if (pos[0] > width-eSize/2) {
    ellipse(pos[0]-width, pos[1], eSize, eSize);
  }
}

void keyPressed()
{
  if (key == 's') {
    endRecord();
    exit();
  }
}

When the sketch is going, press ‘s’ to save an image, and quit. It actually raises an exception, but the image saves… not sure what’s going on…

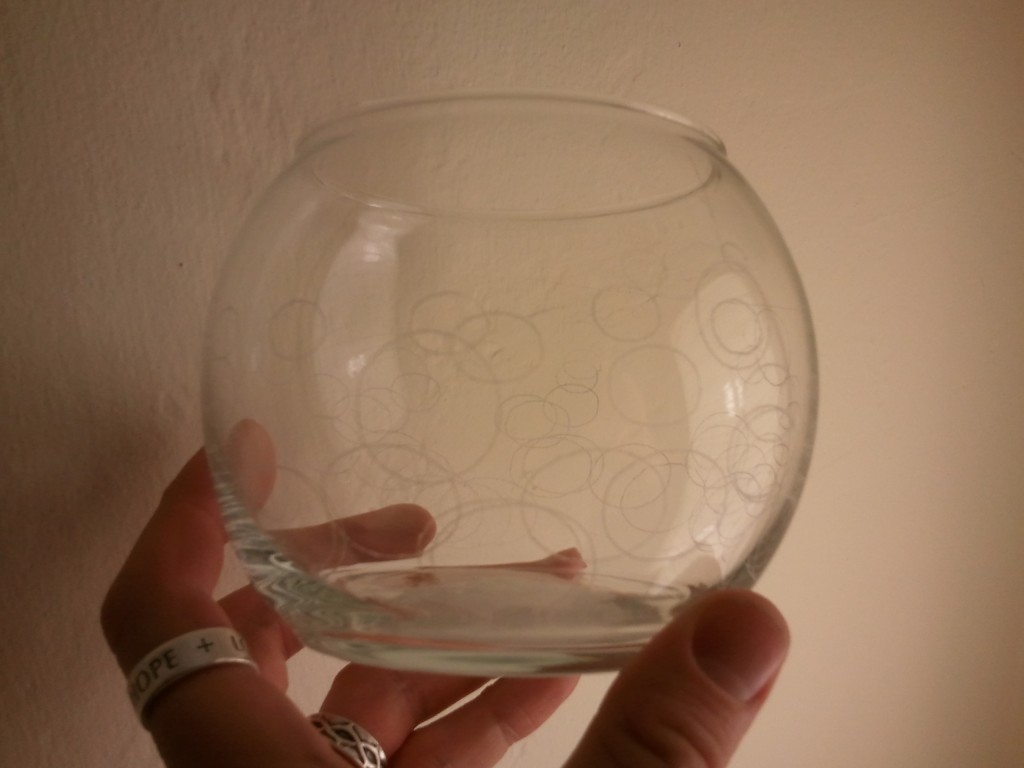
From there it’s a simple matter of importing the pdf into Inkscape. I discovered however that its size was bigger than what was defined in the sketch, so I had to resize it to fit the Ostrich-Egg Bot’s drawing area. Here is a close-up of the etcher in action:

And here’s a shot of the final product:

So, not the most amazing thing, but one step closer…

Ostrich Egg-Bot: Diamond Engraving Tool

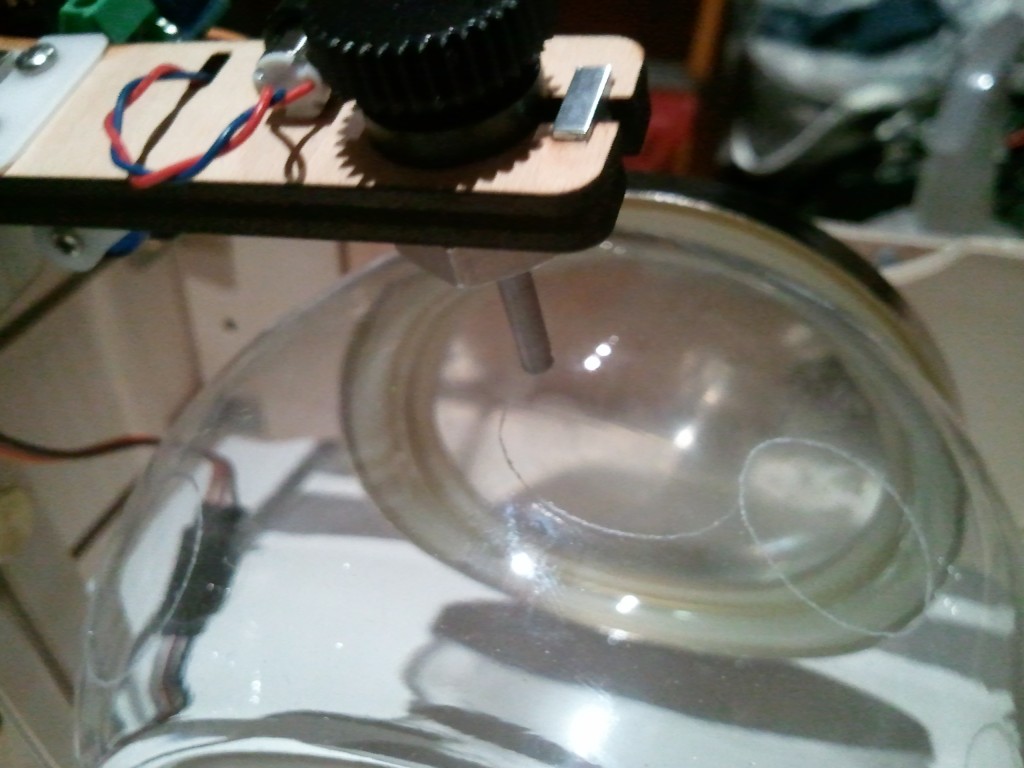
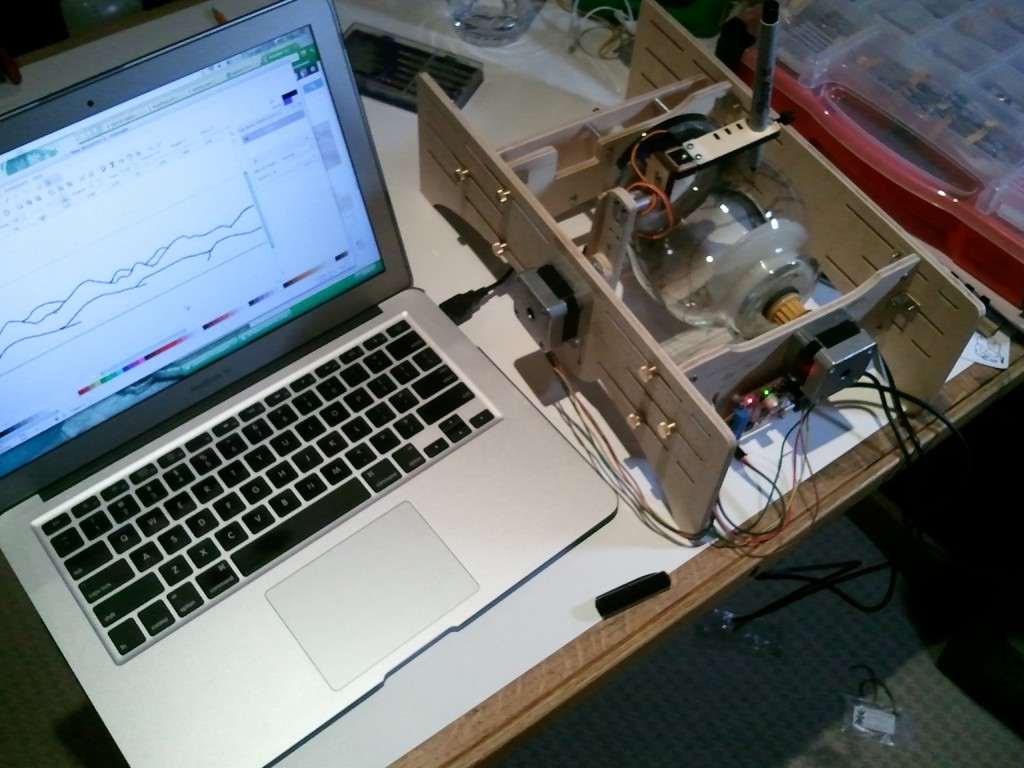
This weekend I got the diamond engraving tool assembled and mounted on the Ostrich Egg-Bot.  Like the previous assemblies, it went off without a hitch.  And engraving on a glass bowl worked the first time.

Things I’ve learned about the kit as a whole up to this point:

  • The “center” of the print is where the pen is located when the print starts.  I hadn’t realized this for some time, and trying to figure out why my prints were drawing on the wrong part of the egg was confusing me:  I figured the print would start with the steppers “centered”, but that’s not the case.
  • When I first was printing, the pause option wasn’t working properly, and I was getting a stair-stepped effect in the print:  Turned out I needed to adjust a very small potentiometer on the egg-board:  Both problems went away.
  • During long prints, my screensaver would kill the print:  Downloaded the “Caffeine” app (for my Macbook Air) to help prevent this from happening.
  • Things that like to be printed on:  Glass balls, baseballs, Christmas-ornaments covered in paper grocery-bag like material.
  • Things that like to be etched on: Glass balls (that’s all I have right now…).
  • Things that don’t like to be printed on:  Tennis-balls, styrofoam balls, styrofoam balls coated in the putty you fill small holes in your wall with:  Ink takes to the styrofoam really well, but all the small divots and holes between the expanding beads cause the pen-tip to get hung-up.  Filling them in with putty just seems to clog up the pin when drawing :(
  • When I first started etching, the etcher didn’t do anything:  I had to adjust the little blue pot on top to get the motor spinning up fast enough.
  • When etching, I had to turn the “speed when pen is down” to at least 100 to be able to see the effect on the glass bowls:  I’ll try it even slower next time.

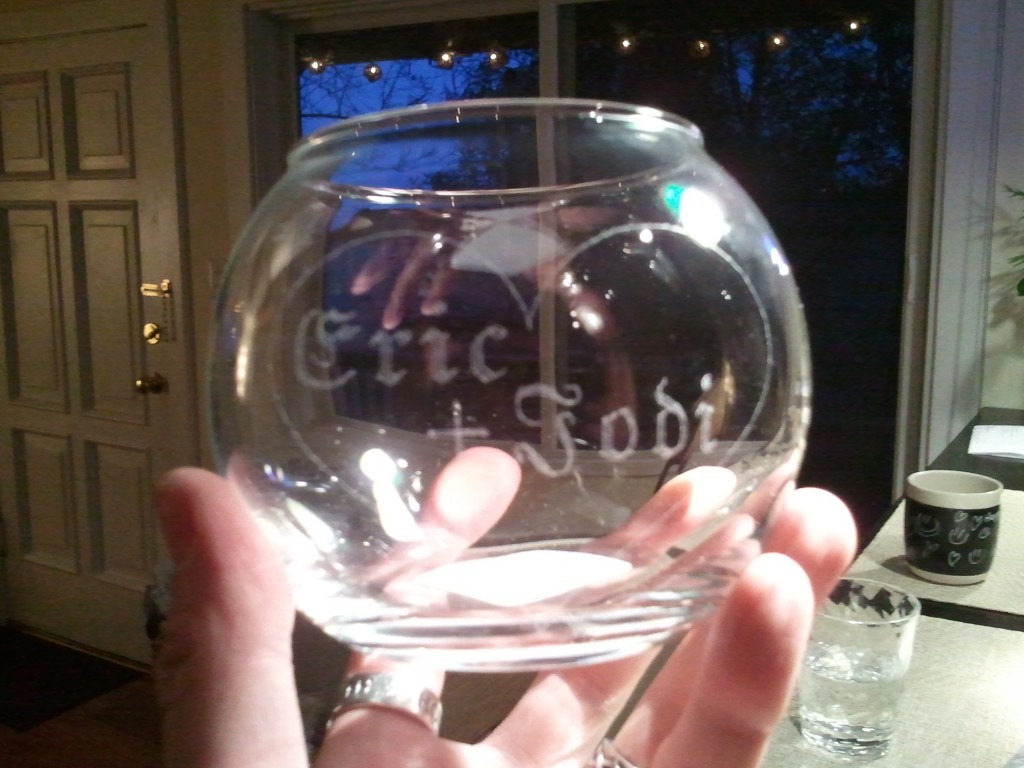
Next up will to try spray-painting the glass bowls, and see if the etcher can take it off.  In the meantime, here is my first etching:  I figured I should do something the Mrs would appreciate 😉

"Eric + Jodi", aaahh..... :-)

And here is the shot of the engraver itself:

Ostrich Egg-Bot kit assembled

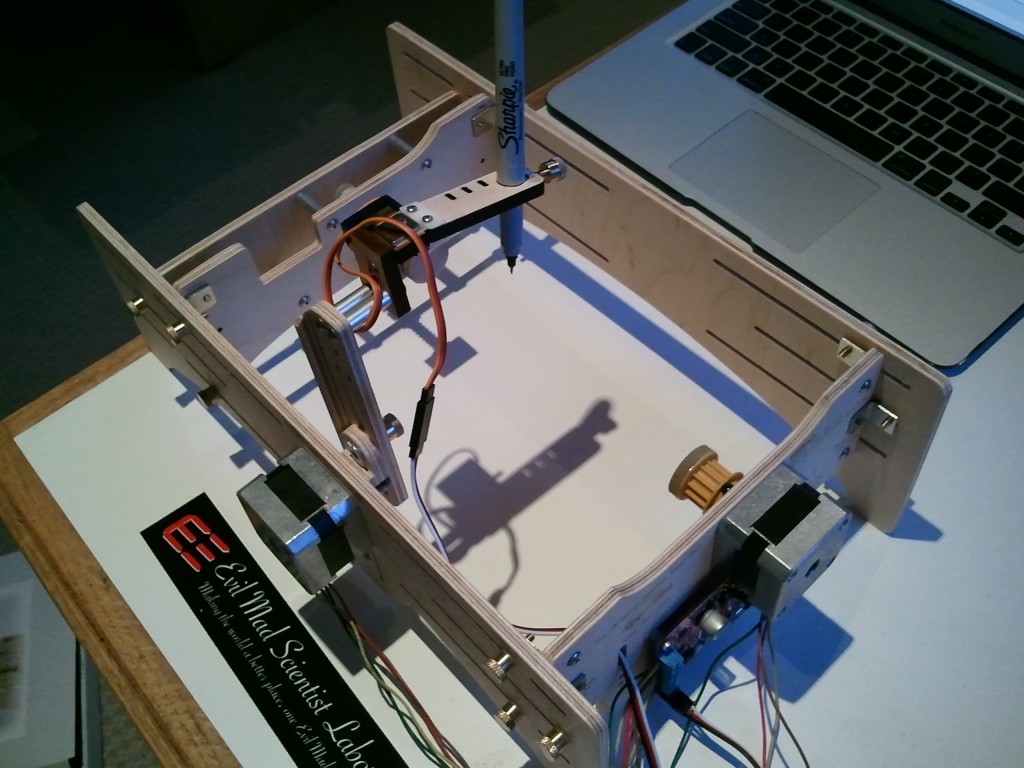
Hour and a half on a Saturday afternoon saw the Ostrich Egg-Bot completed.  Was quite easy (which is good), nothing out of the ordinary happened.  The final product:

And here it is printing a “mountain scene” I drew in Inkscape on one of my wife’s candle-holder vases:

The end result isn’t that impressive, but you can blame the artist, not the tool 😛

The whole process from assembly to print went off without a hitch, which really impressed me.  Props to the folks over at Evil Mad Scientist Laboratories!  In fact, the most difficult thing for me now is to find things to print on… 😉