4WOC : Week 4

Onto my last week of creativity!  Back to week 3

Days 26-28, Thurs -> Sunday, December 2013

Well, the last three days were a bit of a creative fail, in a way: Thursday I was just exhausted after work, friday my best friend flew into town as a surprise for my… birthday party on Saturday.  So while the last to days were very enjoyable, they weren’t necessarily ‘creative’.  Unless you count a beer-tasting birthday party as creative :)

Day 25: Wednesday, December 4th, 2013

Almost printed…

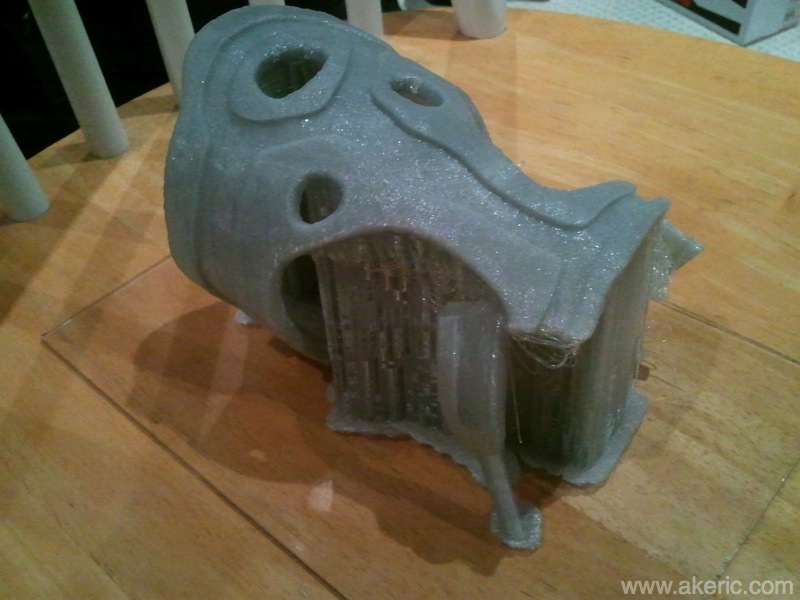
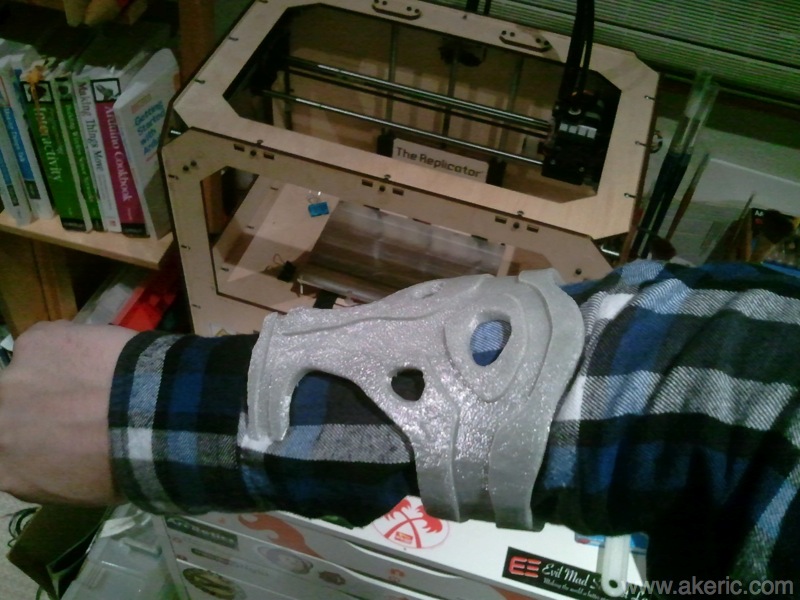
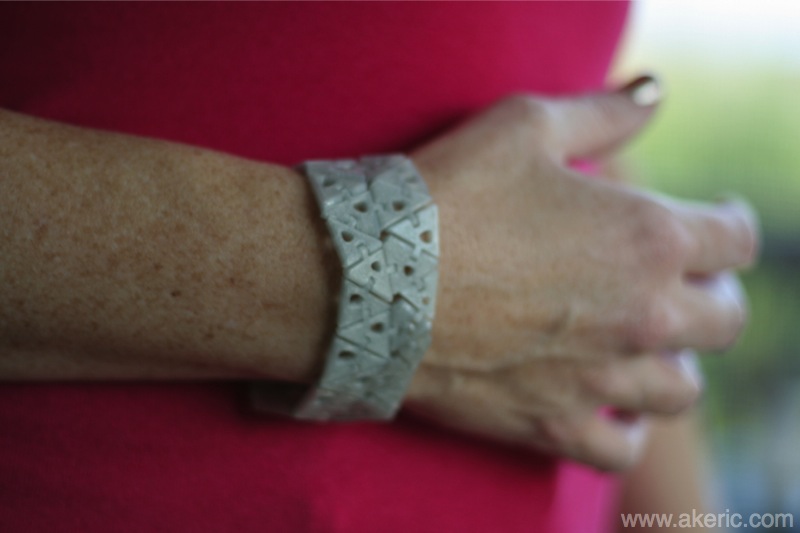
One minute shy of the ten hour mark, the below print finished (on my Makerbot Replicator 1).  I should have known better though, and modeled in my own support columns for the overhanging clasps:  As expected they broke free at some point during the print, and it failed.  That being said I still cleaned it up and snapped a pic of it on my arm.  I won’t re-print it:  I don’t like it that much.  But it was a fun exercise in the scan -> model -> print process I’d not tried before.


Day 24 : Tuesday, December 3th, 2013

Moar Meshmixer

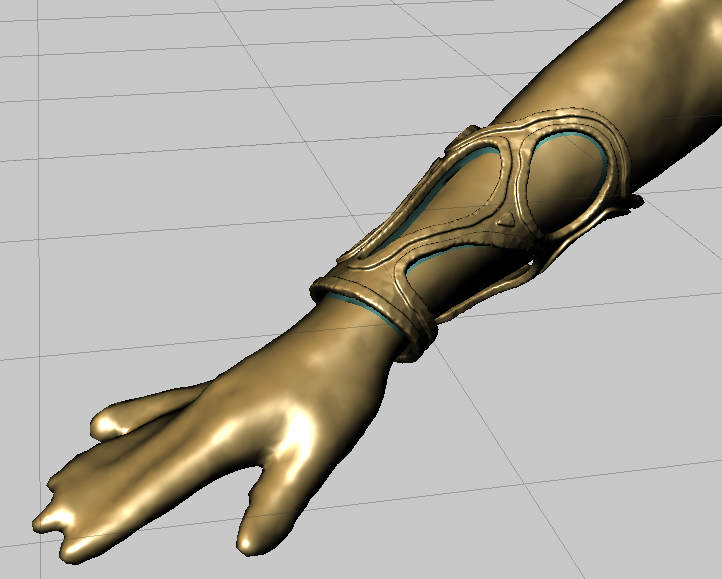
It dawned on me after finishing the sculpt yesterday:  It would be impossible to actually get ones arm in that thing, based on the size of the wrist.  Tonight, I did a new sculpt that should be far more… ergonomic, when it comes to wearing it:

Hopefully can start printing it tomorrow!

Day 22: Monday December 2nd, 2013

Meshmixing Skanect

Over the weekend I’d bought a used Kinect, and had scanned my Makerbot Replicator as a test… although not a very useful test.  During that process I learned that Skanect likes to crash pretty often on my Macbook Air.  I figure I need more horsepower:  I thought I may be able to get gpu acceleration working, but after checking the Skanect Google Group, I was told my grahics card (GeForce 320m, 256 meg) isn’t supported :(

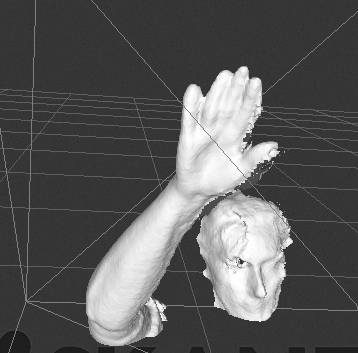
Regardless I thought I’d try a more complex subject:  My wife’s arm.  I tried several times walking around her holding the scanner while she held her arm up, but I just couldn’t get a good scan.  So I got her on a spinny-chair and had her spin in a circle:  Success.  However, I can’t get any scans to work on “high” quality:  It just crashes at some point.  But medium and low quality seem to work.

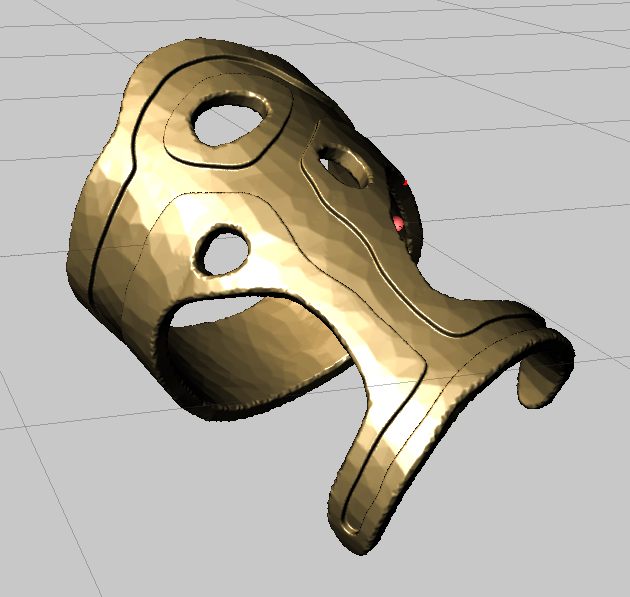
Here’s the result in Skanect, and later in Meshmixer:  I imported the scanned mesh, smoothed it, and started drawing patters which I later extracted, extruded, and detailed.  My hope is to get this mesh into Maya where I can split it in half for 3d printing.

The Mrs's arm in Skanect

Forearm bracer in Meshmixer

4WOC : Week 3

4WOC: Week 3

This post will follow my next 7 days of creativity.  Back to Week 2, forward to Week 3

Day 21: Sunday, December 1st, 2013 :

Scanning Printers

I picked up a used Xbox 360 Kinect at the local Game Stop for $50 & downloaded the trial version of Skanect (for Mac).  I have this idea in my head of scanning body parts (arms, heads, feet), drawing 3d mesh on them, and then printing the result to create cool masks\shoes\etc.  For my first attempt, I thought it’d be funny to scan my Makerbot Replicator:
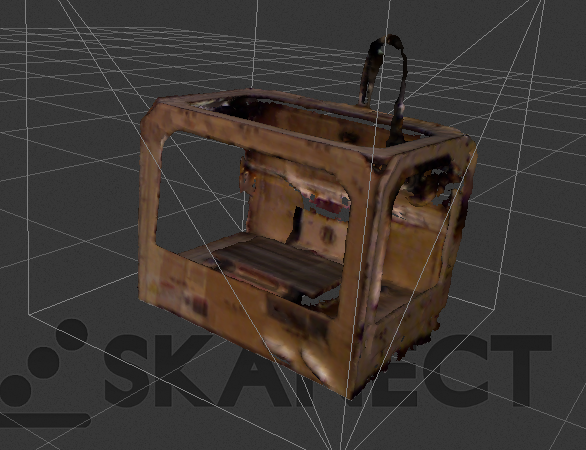
I don’t think my Macbook Air is cut out for this heavy kind of processing:  My attempts to scan the whole thing, 360 degs, would crash the software repeatedly.  I could get away with scanning just the front and sides, but unless I dropped the reconstruction option to “low”, it would crash as well.  I have yet to figure out if I can get GPU processing enabled… currently it’s disabled despite the fact I have a GeForce 320m card in my laptop.  The free version only outputs mesh with 5000 tri’s… but I’m not sure if I want to drop $129 on a piece of software that crashes often (I’m guessing due to my hardware setup) and may not do what I want (questionable short range resolution).  Unfortunately it’s about the only option I’m aware of for Mac that uses the Kinect.

Day 20: Saturday, November 30th, 2013:

Was out of town on trip.  Limited creativity.  Unless you count wine tasting creative :)

Day 19: Friday, November 29th, 2013

The end of Kivy:  I successfully got an app working where I click on screen, and it draws circles with a texture with a tinted color.  Way to much effort unfortunately.  Don’t get me wrong:  I’m sure if I was writing a full-blown mobile app I would continue to be more enthused:  It has a great 2d widget library.  But just for throwing a lot of sprites on screen, I’m just not getting it.  Probably based on my own ignorance of the language, but to knock that stuff out in Processing or PyGame just seems way easier.  I could post a photo but well… it’s just sad.

Day 18 : Thursday, November 28th, 2013

Thanksgiving.  I creatively ate some Turkey.

Day 17 : Wednesday, November 27th, 2013

Nervous Printing
 

While reading my feeds today, I ran across this one, by Nervous Systems: Kinematics.  I really enjoy and appreciate the designs\art\jewelry\code they create as I’ve followed them over the years.  I was immediately fascinated by their online “Kinematics App” (apparently written in JavaScript). That looked great, but only generates items for purchase.  I then tracked down the companion app “Kinematics@Home“, which allows you to generate simplified designs, and they provide you with a stl file for download.  Seemed perfect to fill todays ‘creative slot’.

Making the design was easy, and downloading the stl went without a hitch.  I dropped it into Makerware, and in 1hr 22min later of printing on my Replicator, I had a functional bracelet.

There were problems however:  Some of the mesh on the side with the clasp-peg didn’t print properly.  I’d seen a similar issue before, that happens when multiple shells (individual pieces of 3d mesh) intersect one another.  I quickly resolve, I uploaded the stl to Netfabb Cloud, and a few minutes later, I had a repaired stl file.  According to the repair report, the “bad” stl had 425 holes, and 381 separate shells.  The fixed version had no holes, and 45 shells:  The exact same number of segments the bracelet has.

You can download the stl for printing and get more info/picsover on Thingiverse.

Day 16 : Tuesday, November 26th, 2013

Even  More Kivy!

Although I really have nothing visual to show for it, I did a lot more Kivy learning : Trying to wrap my head around the general process flow when an application starts, and the main important built-in methods.  I also tried to draw a simple sprite… and didn’t have much success, I’m sure I’m missing something fundamental.

I’m starting to update my Python wiki with a Kivy section.

Total time:  about an hour and a half.

Day 15 : Monday, November 25th, 2013

More Kivy!

Yesterday (day 14) I got the latest version of Kivy installed.  I had ran into some problems however getting it to properly debug with Wing IDE, based on my Mac development environment.  I kept getting exceptions:

Traceback (most recent call last):
  File "/Library/Frameworks/Python.framework/Versions/2.7/lib/python2.7/site-packages/kivy/core/window/window_pygame.py", line 180, in set_icon
    im = pygame.image.load(filename)
error: File is not a Windows BMP file

So with a little bit of trickery I was able to modify the set_icon() function in window_pygame.py to this:

def set_icon(self, filename):
    im = None
    try:
        if not exists(filename):
            return False
        try:
            im = pygame.image.load(filename)
        except:
            pass
        if im:
            pygame.display.set_icon(im)
            super(WindowPygame, self).set_icon(filename)
    except:
        Logger.exception('WinPygame: unable to set icon')

More notes over on my Python Wiki, but boom:  Debugging in Wing successful.

Bolstered by that success, I was able to get through both of Kivi’s tutorials:

I also got PyInstaller installed, as a first step to making packaged Apps in the future, since that is the method Kivy recommends.

My hope was I would find the same initial joy I found in the Processing API in Kivy.  Truth is, this isn’t the case:  There is a lot more overhead in Kivy to get this working compared to Processing.  That being said, I see promise:  It’s super easy to get pretty things working in Processing, but to take your apps to the ‘next level’ there is a lot of overhead… namely needing to really dig into Java, and fully grok Eclipse.  I have a feeling once I learn it, it should be the reverse in Kivy:  More overhead to get simple things working, but far easier to take them to the ‘next level’.  Time will tell.

Total time:  About 2 hours.


4WOC: Week 2

Four Weeks Of Creativity, WEEK 2!

This post will follow my ‘next 7 days of creativity’.  Back to Week 1. Forward to Week 3.

Day 14 : Sunday, Nov 25th, 2013

Kivy : Python app development

I’ve talked about Kivy in the past, but this coming week I’m going to try programming in it in ernest.  From their site, Kivy is an “Open source Python library for rapid development of applications that make use of innovative user interfaces, such as multi-touch apps.”.  They integrate many other Python libraries (like PyGame) into one cohesive whole.  Today I got the latest version installed, and loaded up some of their examples.   The biggest hurdle so far is to get it to launch in debug mode from Wing IDE (my Python development environment of choice):  I can’t seem to track down the custom Python app (I’m on a mac) that Kivy uses (on the PC this would be trivial), so currently no debugging.  I hope to get this worked out in the coming week.

Day 13 : Saturday, Nov  24, 2013

Threat Detection Sensor Mk1!

I picked up a Parallax PIR sensor a few years back at the Bay Area Maker Faire.  Always wanted to see how hard it would be to make a simple motion detector / threat detection system.  Turns out, if you have the right components, it’s really easy.

Here is the prototype in action:  Having detected me, the bright blue threat LED is on, and if you were present, you’d hear the threat audio “shave and a haircut, two bits” playing:

Components:

  • Arduino Uno (I’m sure any Arduino will work)
  • Parallax PIR sensor
  • 8ohm speaker
  • LED of your choice plus resistor (100-200 ohm)
  • Breadboard & connectors
You can download the code I made here:  It’s a mashup of these two example sketches:
Total time:  Little over an hour.
If I had the time and components to take this project further I would:
  • Allow it to be plugged into a wall, on a battery backup (in case the baddies cut the power).
  • Send me a text whenever a threat is detected.
  • Attach a simple camera to snap a picture of the threat for later retrieval.
  • Have it know what time it is when the threat happened.

Day 12 : Friday, Nov 22, 2013

Creative fail.  Completely exhausted after work, feel like I’m coming down with something.  No creativity :(

Day 11 : Thursday, Nov 21, 2013

More 3d printing : My wife has her own business selling the knitted and crocheted items she makes.  I’ve designed and printed out small round ‘chits’ with her initials that she can sew into the items .  Check out her stuff over on Etsy.

Printing in process!

Day 10 : Wednesday, Nov 20th, 2013

I modeled my house in Minecraft.  ’nuff said.  (this actually took more than one day, I just finally finished it)

Day 9 : Tuesday, Nov 19th, 2013

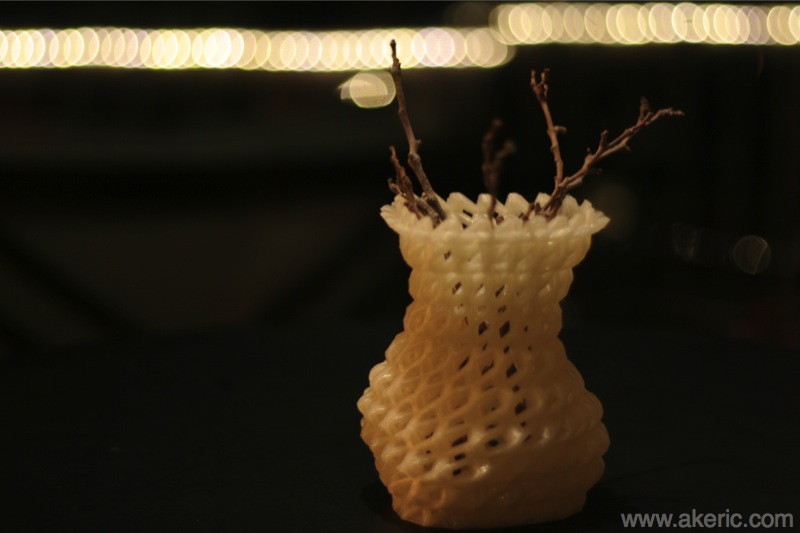
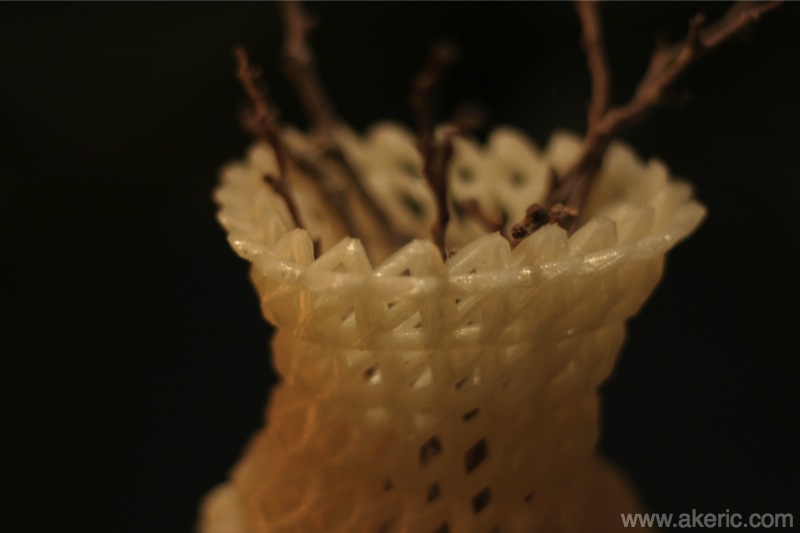
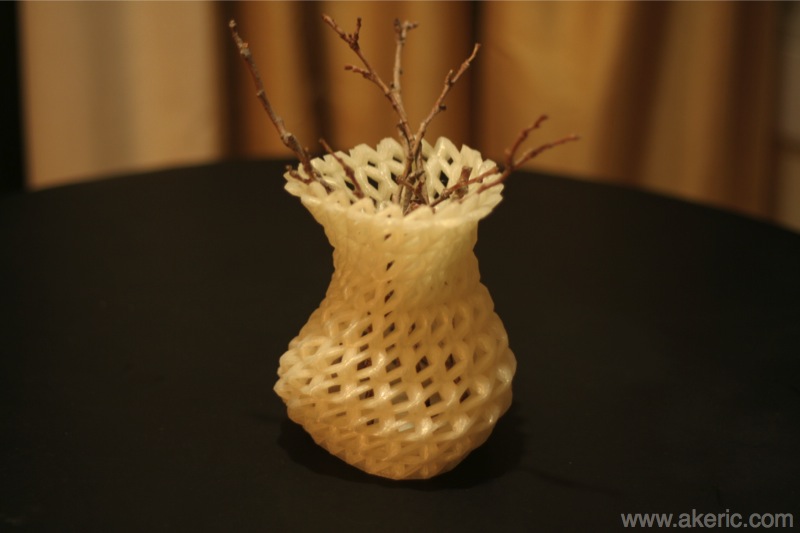
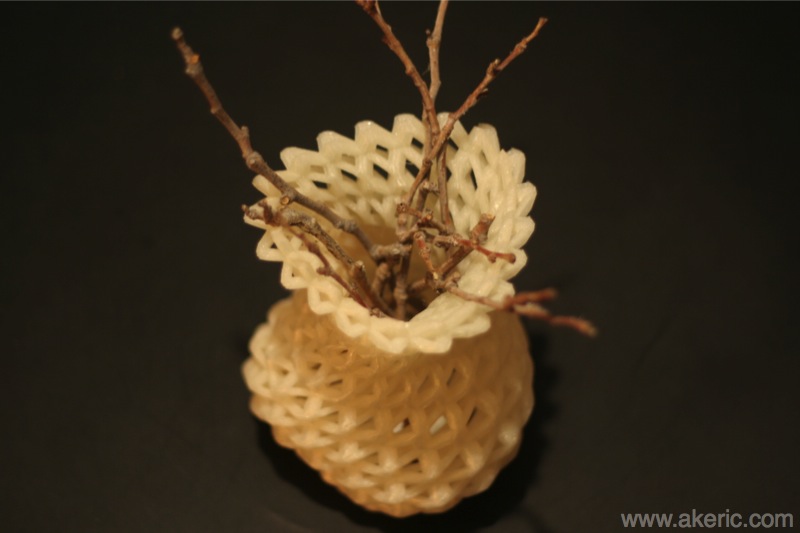
3D Printed ShapeShifter Vase

I ran across a site called http://shapeshifter.io that makes it really easy to create 3d printable items like vases, bowls, etc.  10 minutes later and I had the below vase done.  17h and 15 min later the print finished on my  Makerbot Replicator.

Find out more info and download the model over on Thingiverse.


Day 8 : Monday, Nov 18th, 2013

Pickled Peppers!

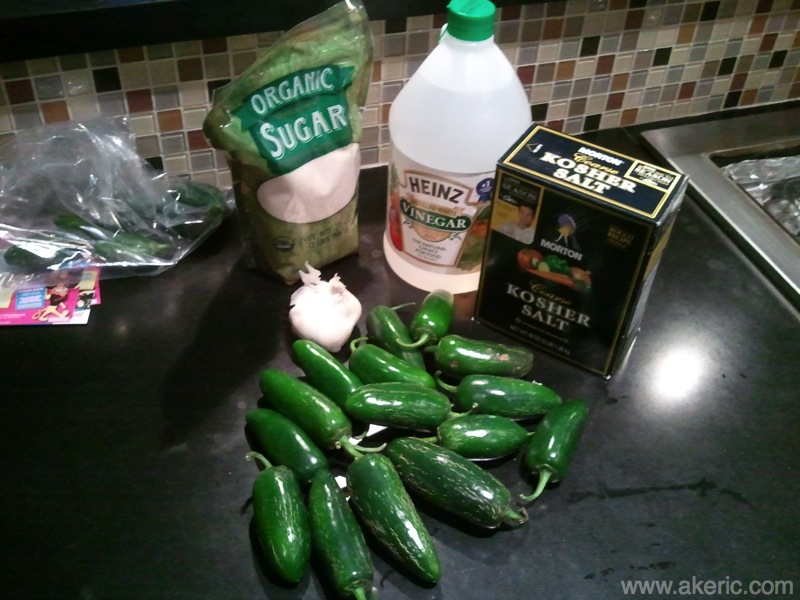
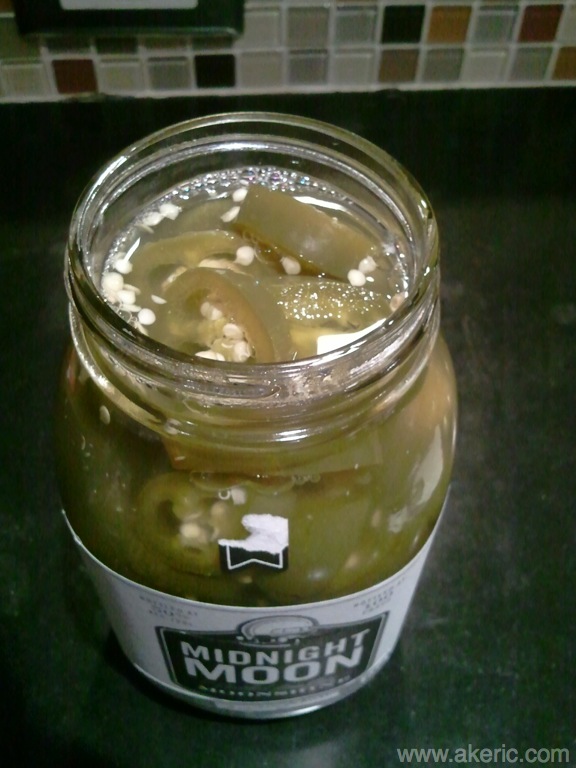
I picked up 20 jalapeños  at the farmer’s market on Sunday.  Didn’t know what I should do with them.  After searching the web for recipes, I found this one:  Easy Homemade Pickled Jalapeños.   I happened to have all the ingredients and hadn’t ever pickled anything before… ever… so why not?  As you can see from the recipe, it’s quite easy, and it worked for me without a hitch.  That being said, they are hot.  The farmer I bought them from had a smirk when he told me “they’re hot”.  Heck, I like hot things, I can chug Tabasco.  But these are step up, for sure.  I can eat one… then drink a lot of water… then try another… maybe.  I put the end result in a old moonshine mason jar, seemed a fitting end for that glass :)  Whole process took only about an hour.


In order:  The ingredients, soaking in the brine, and bottling.


4WOC : Week 1

I’d heard of ’30 days of creativity’ before:  Sort of a forcing function to get the creative juices flowing.  I thought I’d try my hand at it, but instead, I’ll call it “Four Weeks Of Creativity”.  I’ve done plenty of 3d printing since my last post… I’m just a lazy blog poster.

Starting Nov 11th, I will BE CREATIVE!  This one post will hold an overview of what ‘creative’ thing I did each day for the first week.

Forward to Week 2

Week 1

Week 1 is now complete!  See notes for individual days below.  The final result is…..:

Day 7 : Sunday, Nov 17th, 2013

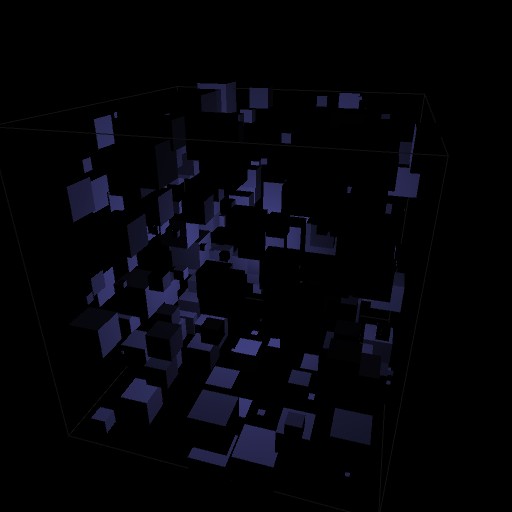
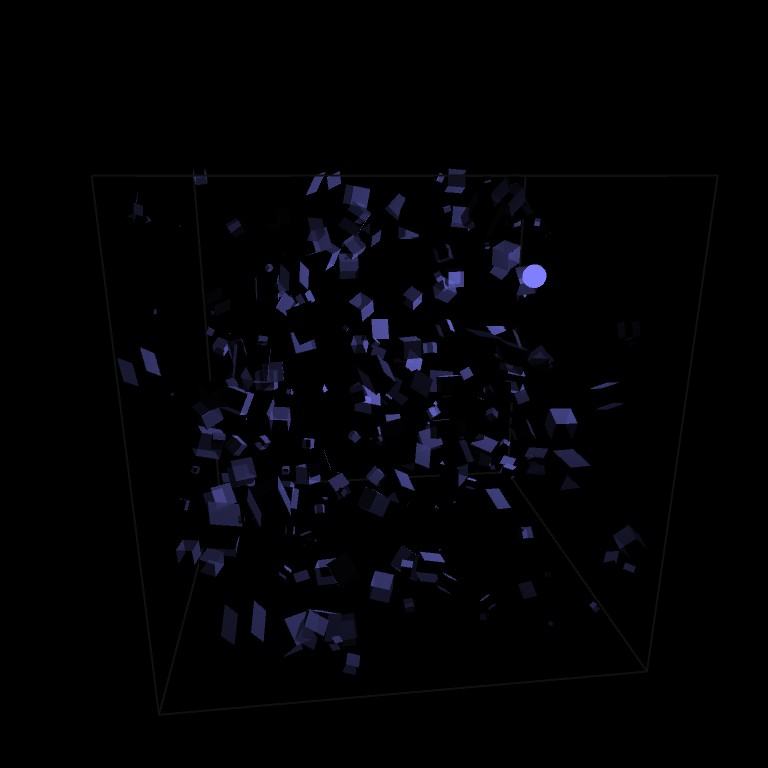
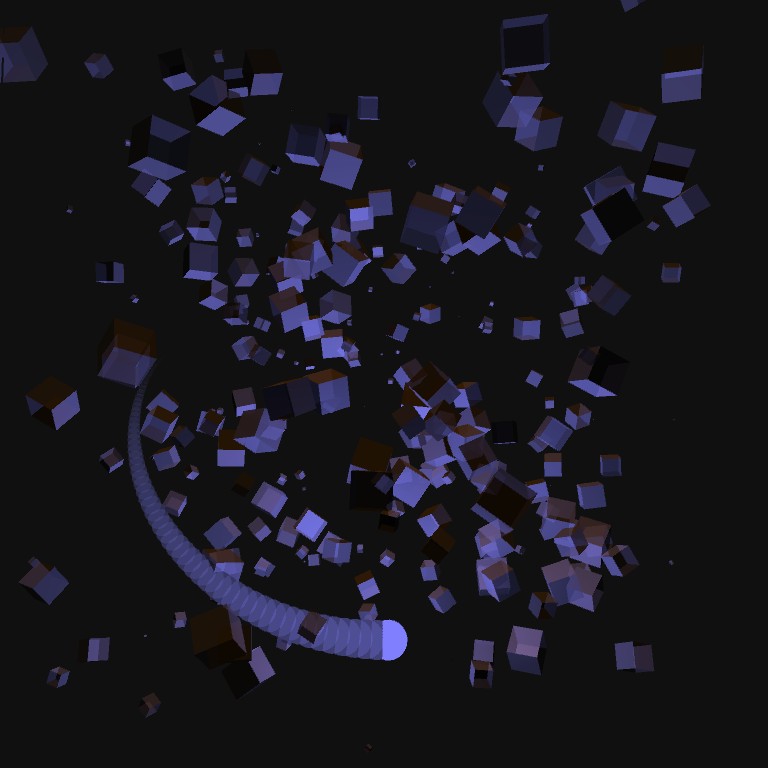
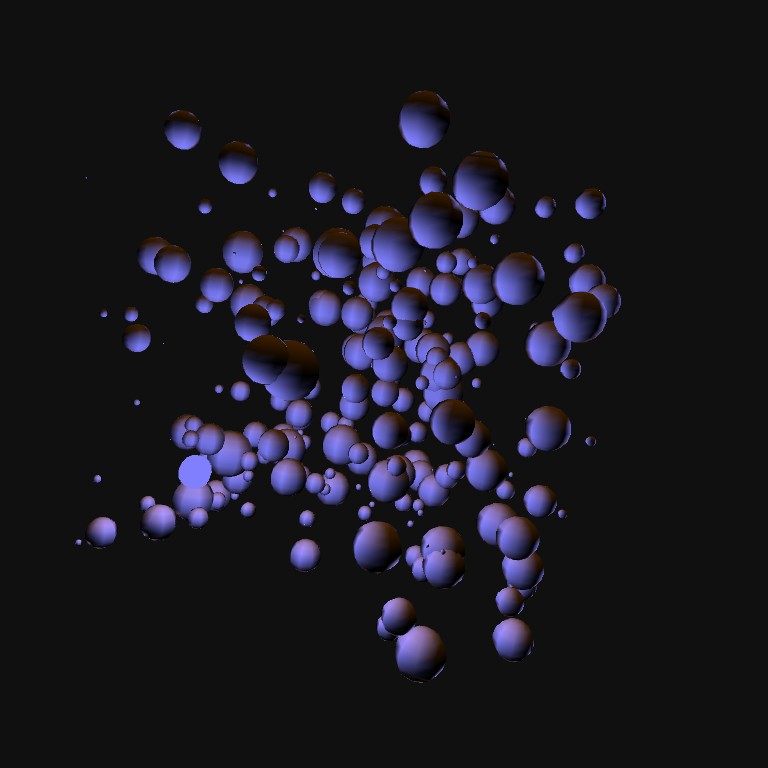
I’ve spent the past week working on the above Processing sketch I’ve coined ‘Orbital’.  It started out as just an idea of some floating cubes, and has turned into this:  A particle\physics sim.  Multiple light sources orbit around a central sun, colliding into multiple other bodies.  I wrote all the particle physics and collision, was fun to remember how to do all that.

My hope was to replace the light sources with some fancy-rendered OpenGL sprites with glow.  It appears that on my version of the mac (10.8.2) doesn’t recognize their OpenGL libraries properly… so no dice there.

Today I tidied up the code, created the above movie, an generated the below executables.

Download:

  • Processing source here.
  • Mac App here. (bigger than it needs to be based on its inclusion of Java)
  • Windows exe here.
  • Linux here. (untested)
Directions:
  • Use mouse + wheel to orbit camera.
  • “s” : save an image
  • “r” (toggle) : Start recording an image per frame.
Time today:  about 2 hours.
Total time on this project over the past week:  Roughly 12 hours.
(and now for the previous days…)

Day 1 : Monday, Nov 11th, 2013

I haven’t done any work with Processing for a long time.  Thought I’d get back into it for a bit.  Today I:

  • Installed Processing 2.1
  • Wrote simple sketch with camera control, and 3d mesh rendering.  Download the sketch here.
  • Total Time:  About 1:45

Day 2 : Tuesday, Nov 12th, 2013

Continued to work on sketch from yesterday.

  • Now have mobile light source.
  • Cubes have random rotation, opacity based on distance to center.
  • Download the sketch here.
  • Total Time: About 1:00

Day 3 : Wed, Nov 13th

More sketch work:

  • Adding a trail to the lightsource. Remembering about Arrays in Processing. Cubes no longer delete and rebuild: stay persistent and rotate. Adding a top-down directional light, making background slightly brighter.
  • Download the sketch here.
  • Total time:  Just over an hour.

 Day 4, Thurs Nov 14th

  • Sad day:  Internet problems coupled with my boys homework really cut into creative time.  Only got half an hour in.  Started to turn the light source into a physics sim to collide with the cubes (now spheres for easy of collision).  Hopefully more to show tomorrow!

Day 5 : Fri Nov 15th:

  • Re-wrote the camera system to use the PeasyCam Processing library. Makes using the camera really easy, and resolves some issues with the new physics system:  The light source is now a dynamic body orbiting the center of the world.  It lost its trails, but they’ll come back.
  • Download the sketch here.
  • Total time:  1:30.

Day 6, Sat Nov 16th:

  • Good progress today:  Have physics fully working.  Light now collides with the balls, and the balls all collide with each other.  Changed the drawing style on the light-trail to look better.  Created LOD system on the balls for better performance.
  • Download the sketch here.
  • Total time: about 4 hours.

Repairing The Replicators HBP Cable

About nine months ago, I blogged about how the cable to my Makerbot Replicator’s heated build platform (hbp) fried.  Their support was really responsive and shipped me out a new cable that fixed the problem.  Well, it fried again.  And if something breaks twice, I start to think about how I can make it ‘better’.

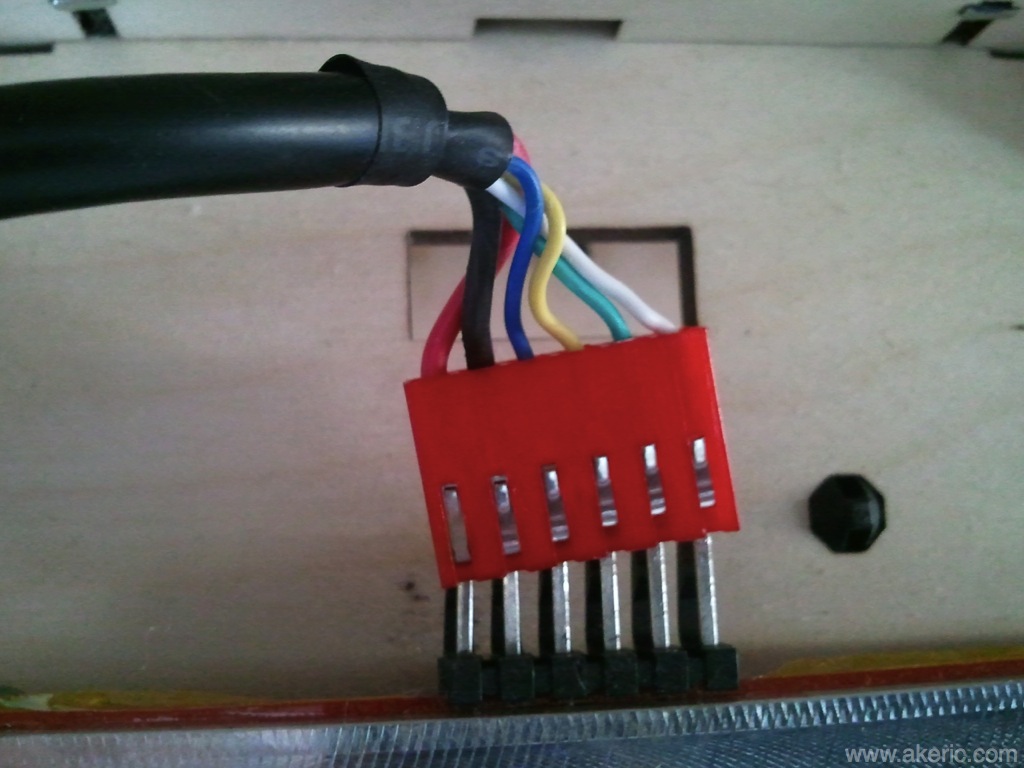
Took me a while to understand what went wrong, since from the top it looked just fine:

But after removal, the problem was plainly visible:

After checking the forums, there were several suggestions from knowledgeable users to make a separate connection for the main positive and negative leads, using 14-16 gauge cable.  When I went to the local electronics store, I could only find connectors in 18 gauge, or 12.  I went with 12.  Which is huuuuge for this, but hey, sometimes you have to work with what you have 😉

The first step was to use a Dremel cutting wheel to hack off the positive & negative connectors:

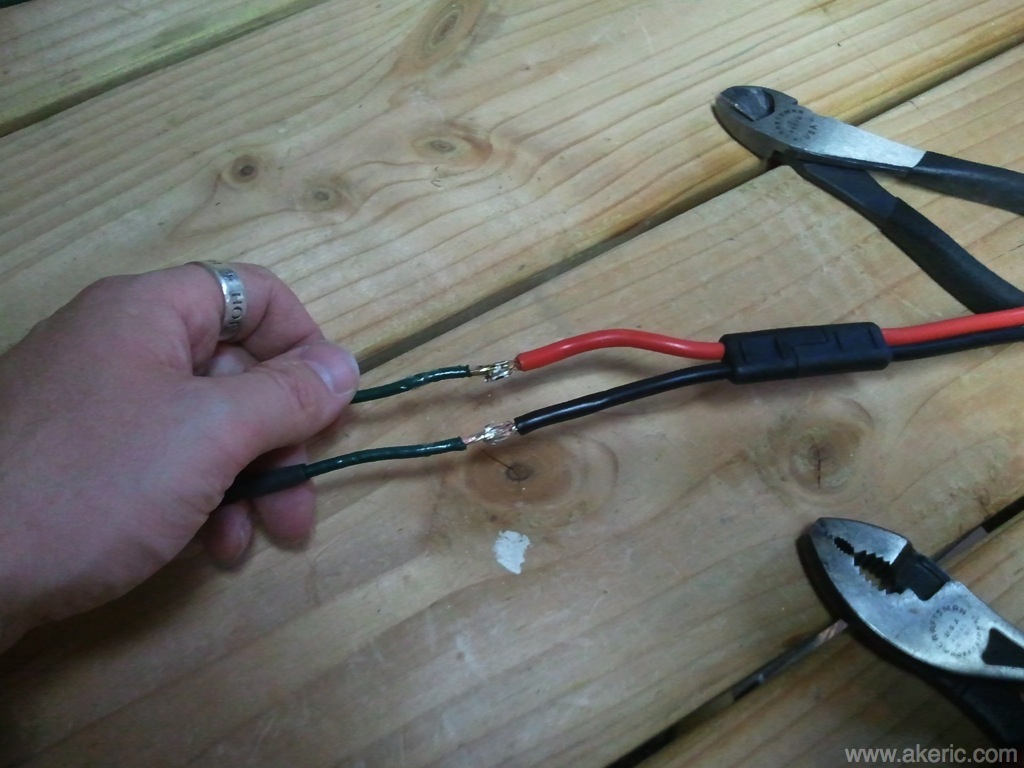
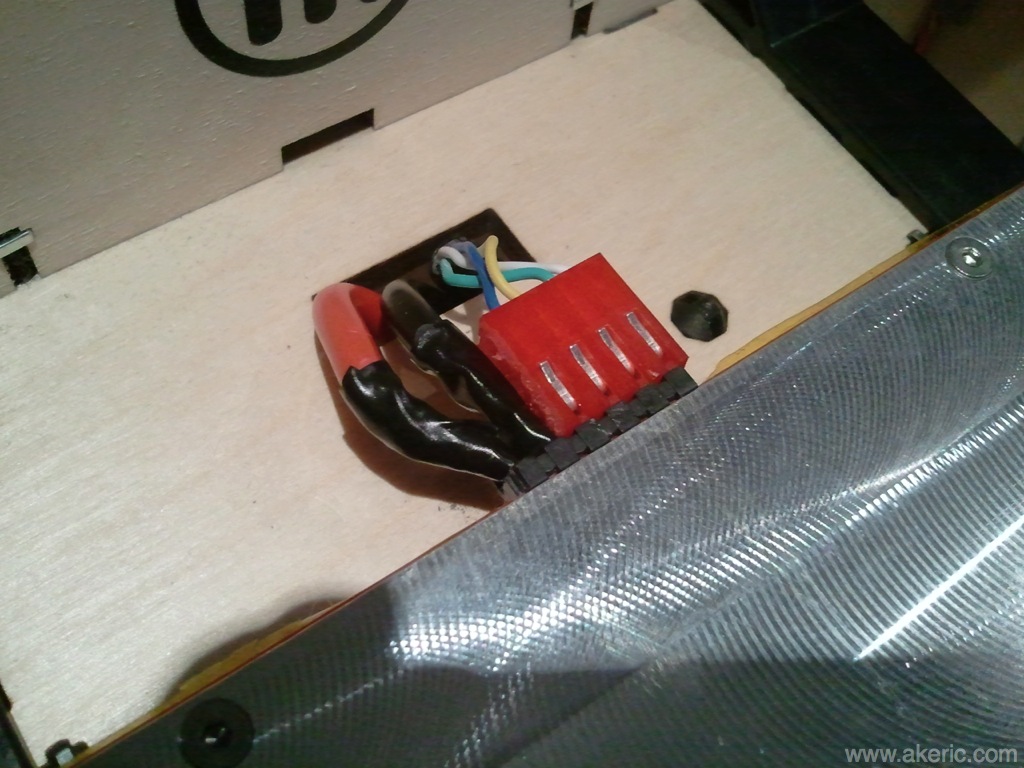
Since the connector I purchased wasn’t long enough to reach the Mightyboard, I had to solder on some (slightly smaller) extensions.  This also shows off the actual connector point itself:  This allows me to disconnect the whole hbp from the Mightyboard, for future removal if needed.  This section sits directly under the hbp itself (when final cable routing is performed).

I ended up wrapping the whole thing in heat-shrink tubing.

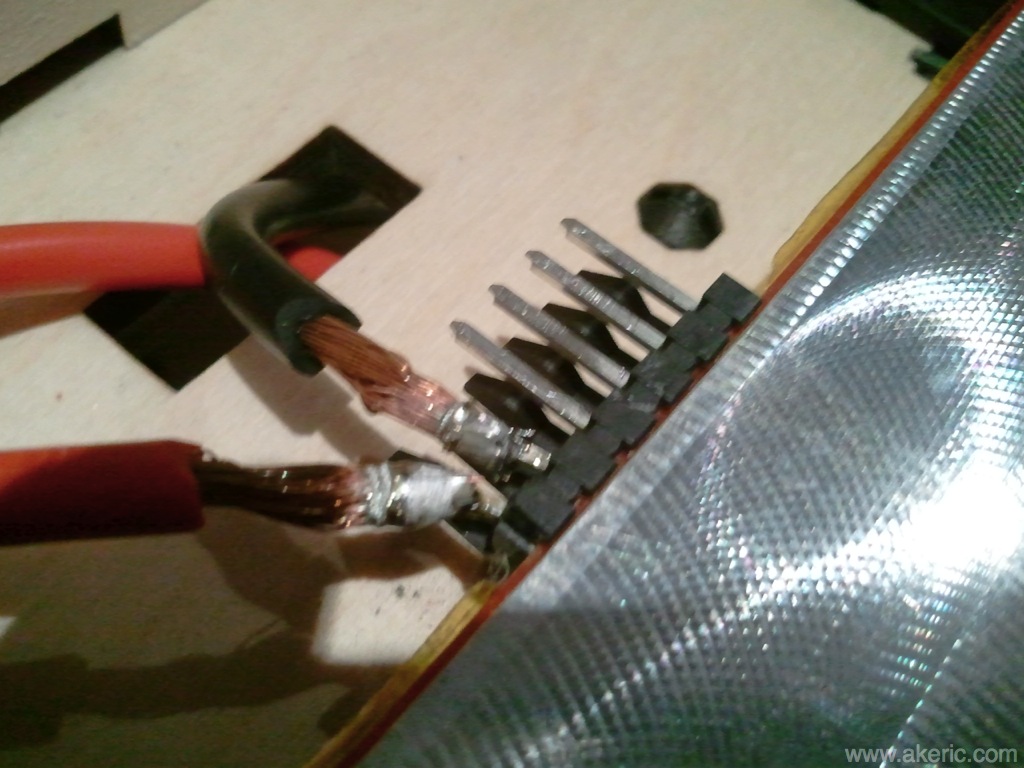
The next tricky bit was soldering the 12-gauge wires to the hbp itself.  To make room, I bent the left-most lead over.  And to keep all the twisted strands from shooting all over the place, I tied a noose around each using the wire from a twist-tie:

Next came the soldering:

After which I removed the nooses.  Finally I wrapped them up in electrical tape, and reconnected everything on both ends of the cables (no pic of the Mightyboard connection, but it’s pretty much the same as before, just with two bigger cables running into it):

I was a little scared to fire it up and start heating the platform, but it performed flawlessly.  And with the larger gauge cables, heats up faster too.  If things are still working nine months from now, I guess the fix worked 😉