BubblePaint
v0.2.1 is available
Bubblepaint is a ‘paint program’ using 2d physics. You ‘paint’ with ‘bubbles’ that collide with each other. The physics are implemented via PyMunk. The ‘bubbles’ can be any ‘generally circular image’. Several different kinds ship with Bubblepaint, and you can make your own (see FAQ below).
You can download the zipped Windows executable here:
- http://www.akeric.com/python/bubblepaint/bubblepaint_0_2_1.zip (4.7 megs)
- Unzip the directory to wherever you want it installed, run BubblePaint.exe inside that dir.
You can download the current Python source here:
- http://www.akeric.com/python/bubblepaint/bubblePaint_0_2_1.py
- This was built with Python 2.6.2, PyGame 1.9.1, and PyMunk 0.8.4, so be sure to have all of those up to snuff.
- I’ve tested it on Win2k, and Vista 64.
You can see examples of the results on Flickr here. Also have it up on the PyGame site.
If you make any images with Bubblepaint, I’d love to see them!
Directions:
- t : Toggle the information screen (pros toggle off while painting…)
- Window is resizable
- Expects a three-button mouse, with mouse wheel. Can’t vouch for results otherwise
Painting
- LMB : DRAW Bubbles
- MMB-hold-move up/down : change bubble SIZE
- Mouse-wheel : Select a new BRUSH CATEGORY from the current brush library. There are several brush categories that ship with Bubblepaint including: ‘solid disk’, ‘flowers’, ‘ghosts’, ‘glownuts (torus)’, ‘motes’, ‘snowflakes’, ‘squiggles’, ‘swirls’ & ‘uglyface (as authored by my 9 year old)’. You can make your own, see FAQ below.
- Numbers 1-9: Set the current ‘spray pressure’ (number of bubbles sprayed out at once)
- You can hold down multiple mouse buttons and keys at the same time while painting to get different effects
Colors
- Brush COLOR (‘hue/saturation/value’) is mapped to keys ‘q, w, e‘:
- Hold RMB + ‘q‘ + move mouse : change brush HUE (color spectrum)
- Hold RMB + ‘w‘ + move mouse : change brush SATURATION (grey -> full color)
- Hold RMB + ‘e‘ + move mouse : change brush VALUE (dark -> light)
- Mouse motion: Right/up = positive values. Left/down = negative values
- ‘p‘ : Will UPDATE the color of the brush, based on what color is under the brush
- ‘o‘ : Will SWAP the current brush color with its complimentary (opposite) color
- ‘b‘ : Set the BACKGROUND color to the current brush color (will clear the background of any *dried* bubbles)
Bubble Management
- ‘c‘ : Clear/remove all *dynamic* bubbles. Doesn’t modify the background image
- ‘d‘ : ‘Dry’ the dynamic bubbles to the background, allowing painting on top. Button can be held down
- ‘f‘ : ‘Filter’ the background image. Button can be held down. Currently only supports ‘blur’
Gravity
- ‘g‘ : Toggles on\off ‘gravity’. Default direction is ‘down’
- ‘arrows‘ : Defines direction of gravity, and turns gravity on
Scene Management
- ‘n‘ : Start a new session: Be CAREFUL, will clear *everything* (no “are you sure” prompt yet).
- ‘s‘ : Save a ‘bubblePaint.####.png’ image in the application’s /screenshot directory based on the current resolution of the window
- ‘ctrl+z‘ : Undo \ remove bubbles in order of creation (no redo). Button can be held down
- ‘Esc‘ : Exit application
Things To Try / FAQ:
Colors:
- What is ‘Hue / Saturation / Value’ (HSV)?
- If you really want to get hard core, check out Wikipedia.
- Hue describes the color spectrum, from red -> violet (infrared to ultraviolet in the visual color spectrum). Have you heard the acronym “Roy G. Biv”? “Red Orange Yellow Green Blue Indigo Violet”. Same as the rainbow. That’s “hue”.
- Saturation is how much of a given color is present. If you have no saturation, your ‘color’ is ‘gray’, no matter what the hue. The value would control it from full white, to full black. Full saturation is ‘full color’.
- Value is from ‘light to dark’. Value of zero = black. Full value = full color (based on the saturation).
- Why are ‘Hue / Saturation / Value’ mapped to ‘q / w / e’?
- In my day job, I work in the 3D application Maya. In that application, when manipulating 3D objects, “translate / rotate / scale” is mapped to the ‘q / w / e’ hotkeys by default. Many other hotkeys are mapped in that keyboard zone, and it allows you to keep your hand in one place, but accomplish many tasks.
- Why use ‘Hue / Saturation / Value’ to describe colors, rather than ‘RGB’?
- In my (and many others) opinion, HSV is a much more intuitive way of giving color access to an artist. Shifting hue based on a single value is pretty straight forward to get a ‘new color’, compared to trying to figure out the three required RGB values.
- How can I change the background color?
- Find the color you want based on the current brush, then hit the background color key ‘b’.
Painting:
- Hold down the “Dry” key (‘d’) while painting. This will effectively disable the dynamics, causing you to paint like a brush in a regular paint program.
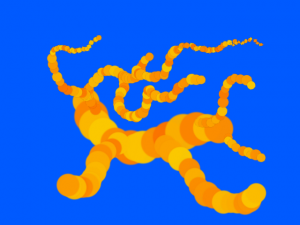
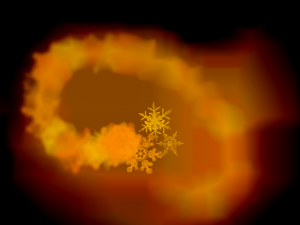
- Hold down the “Dry” and “Filter” keys (‘d’ & ‘f’) at the same time while painting. This will cause the bubbles to instantly dry, and blur, providing an interesting trailing effect on screen.
“Drying” Bubbles:
- By pressing the ‘d’ key, any active, dynamic bubbles will be “dried” to the background. This allows the user to pain on top, creating a ‘layered scene’.
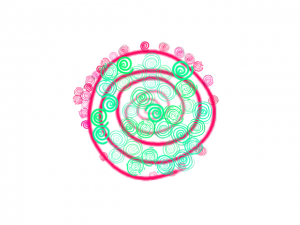
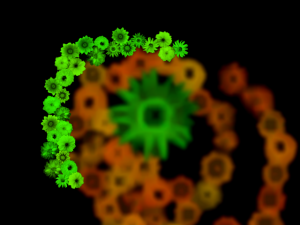
- The filter key ‘f’ will apply the current filter (blur) to the background image. If the background is a solid color, you won’t see anything happen: Dry some bubbles to it first.
Making Custom Brushes
- With a little bit of technical know-how, it’s fairly easy to make your own brushes for Bubblepaint.
- You’ll need software like Photoshop ($$$), or Gimp (free, what I use), allowing you to save out 32-bit .png files.
- Specs:
- Small image. All images used in Bubblepaint are 128×128 pixels.
- It is very important that the images are perfectly square. The resolution doesn’t matter, only that both x & y are the exact same values. It will crash with an exception telling you which image isn’t square otherwise.
- When creating images, or capturing them from external sources, realize that the color “white” will be tinted by user control. Black will stay black. So try to make your images as white as possible.
- Create new images with a transparent background, so only the pixels you add will draw to the bubblepaint screen.
- Save locations:
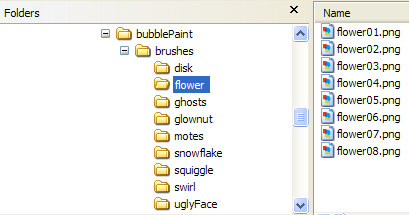
- in the bubblepaint install directory, there is a subdir called /brushes. That directory has multiple additional subdirectoires, one for each brush ‘style’.
- Make your own subdir under /brushes, give it a unique name (like ‘jellybeans’)
- Save each of your custom .png images in your new directory. The image name doesn’t actually matter, only the directory its saved in. The more images you add to your directory, the more choices Bubblepaint has to pick from when drawing a brush to screen. If you want it to draw the same image every time, the only put a single image in a directory. If you want it randomly choose from ten images, then put ten images in the directory.
- Restart Bubblepaint, use the mouse-wheel to find your new brush, and start painting!
Saving Images:
- When I save an image with ‘s‘, where is it saved?
- There is a /screenshot dir in the Bubblepaint install directory. You can find all your screenshots in there, saved as .png files.
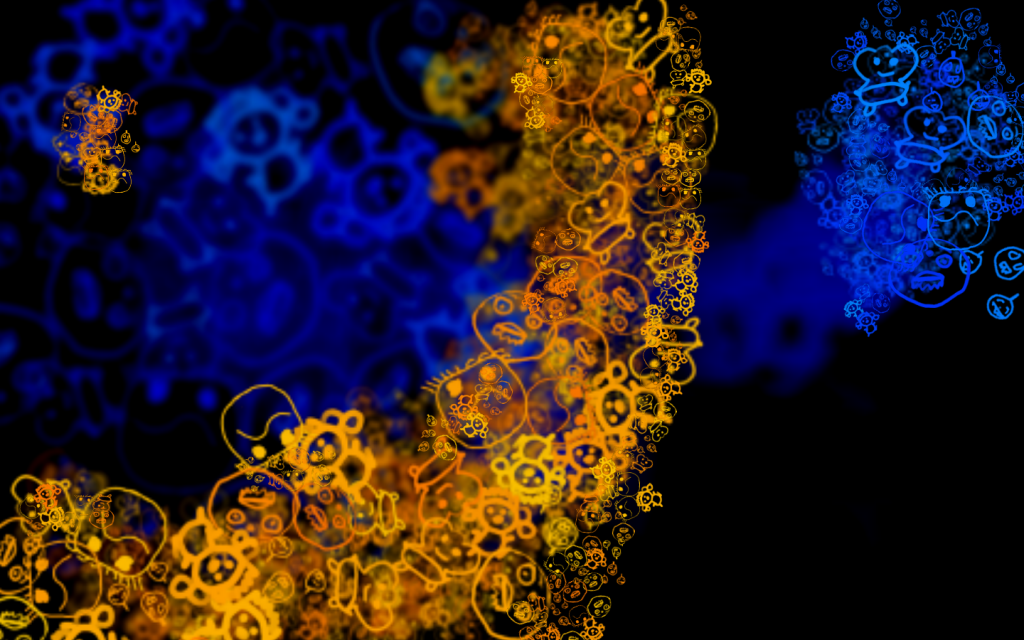
Wow, this game/program looks so cool! Can’t wait to be at home and try it.

The screens look very profesional, they could work as a awesome wallpaper
I found this blog looking for info about pymunk. Perfect site, thanks for all the post
Thanks, it was an enjoyable learning experience for myself.