Posts Tagged ‘ sledgehammer

CG model -> 3d printed -> metal cast: v2.0

Based on my previous post, I wanted to get better results from my sand-cast.  Things I learned from last time:

  • Even though I had a split mold, the vertical edges caused the mold to tear-out during removal.  I have a feeling this is due to the ‘ridged’ sides the 3d-printing causes, making the walls ‘grip’ more.  Because of this, I adjusted my 3d model to have slightly tapered sides.
  • The extruded text on my first model suffered the same problem as the above issue.  To resolve, I simply made the text extruded much less.
  • The previous split mold only had one anchor point, in the middle, to join the two sides:  When connected it gave more yaw-play than I wanted.  The new version has two anchor points on either side.
  • I watched a bunch of sand casting videos and read over multiple sites to make sure I got the sand cast itself created properly.

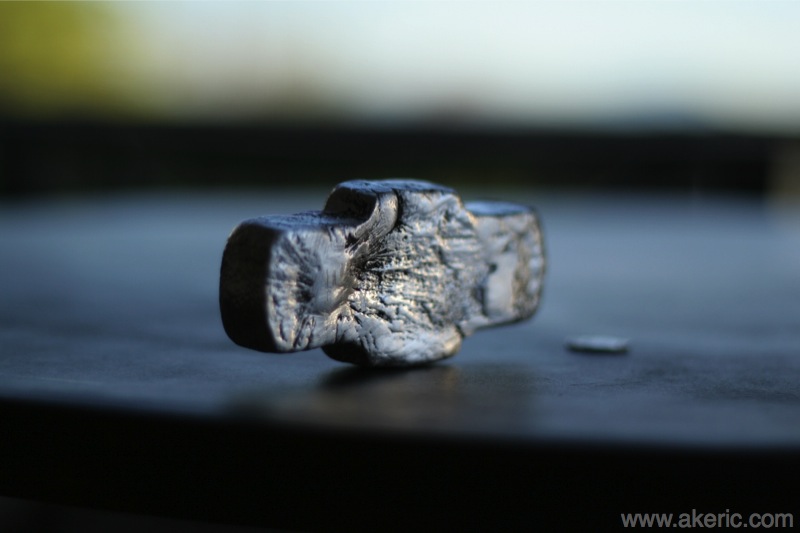
Based on all that, the end result turned out really nice:  Sprue cut off with saws-all, imperfections ground off with an angle-grinder, and polished with a Dremel:

sledgehammer2

Here’s a shot of it freshly pulled from the cast with the sprue still connected:

SAMSUNG

And here’s a shot of the 3d-printed two-part mold.  It took just under 4 hours to print on my Makerbot Replicator.  200 micron layer resolutoin, gray PLA, 220 deg C on a glass build plate covered in blue painters tape:

printedForm

And finally, here’s a movie of the furnace just before it was time to pour:

I shot it with bare hands:  I got really hot, really fast 😉

CG model -> 3d printed -> metal cast

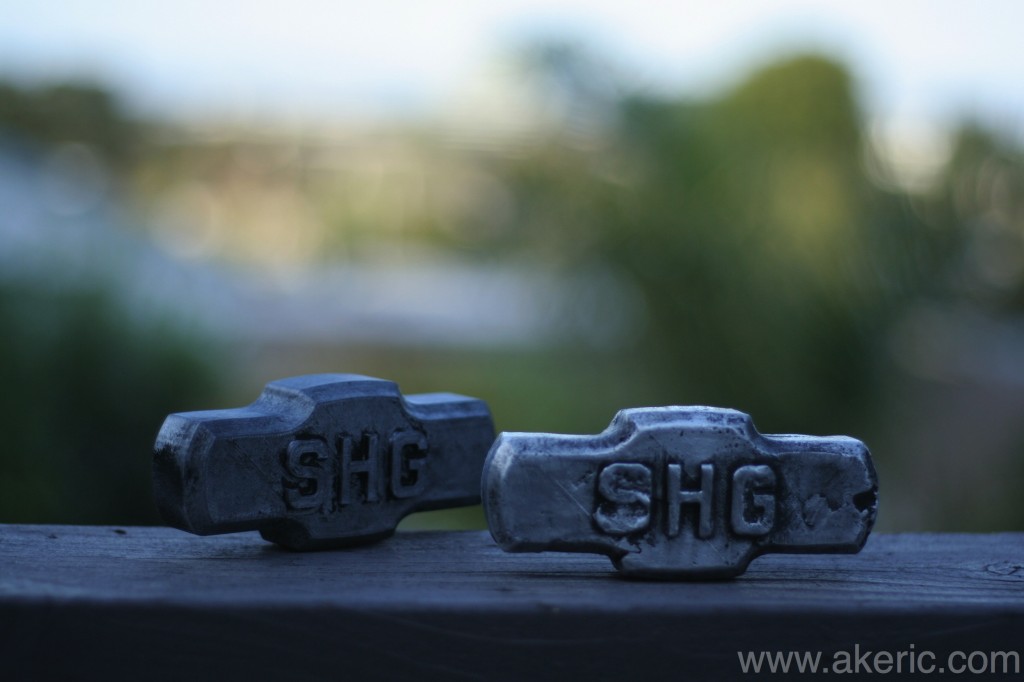
castSHG

3D print on the left, aluminum cast on the right.

I’ve had a “dream” for a number of years now to model something in 3d, 3d print it, and cast it in metal.  Based on the upgrade from my “flowerpot furnace” and the acquisition of new sand casting greensand, today was my first successful attempt (once again casting my companies logo).  I’d previously tried my hand at some “lost PLA casting“, but the end results weren’t satisfactory.  And honestly I’d give today’s attempt a C- : Being my first attempt, I had some flaws in my sand cast design, that resulted in defects in the end result.  I also learned that if you want to pull off embossed letters like shown, you need to bevel them, or the sand will stick to them upon removal (which is what happened to the S & G) even if using parting dust.  Regardless, the cleaned up results with some black paint added gives it a rustic \ worn look.  Next attempt I’ll shoot for a solid B 😉

The print itself took about 2hr 15min on my Makerbot Replicator (1), using gray PLA, 200 micron resolution, printed on a glass build plate with blue painters tape.  It’s about 13cm across, or just over 5”.


Lost PLA casting: Take 1

I’ve been experimenting with some backyard sand casting, and have had the desire to try and cast a 3d-printed object. I’d heard you can do a “lost PLA” cast, where the molten aluminum vaporizes the printed item, so I thought I’d give it a shot.  Long story short:  Works… sort of.  This is my first try, so I didn’t really know what to expect, but the results were far less than I wanted:  No detail in the object, and not all the PLA totally melted: I printed the object with only 5% infill and 1 shell (to generate as little material as possible).  Regardless, it does make a good conversation piece 😉  In the future I’m going to get better sand (finer grain, better clay binder) to help preserve the detail, and probably try for a real lost-wax solution (3d print a mold for the wax), or a true sand-cast where I remove the item to be printed and simply fill the void with metal.

The end result is (an attempt at) the logo for the company I work for, Sledgehammer Games  (a sledgehammer head seemed something worth forging):

hammertime

A dime is next to it for scale

You can see on the left and right sides where I had to grind off the sprues.

Here’s a shot of my “flowerpot furnace” in action melting the aluminum for the project:

And one with the top removed, showing the red-hot crucible:

Latest prints: Beer openers, big sledgehammer

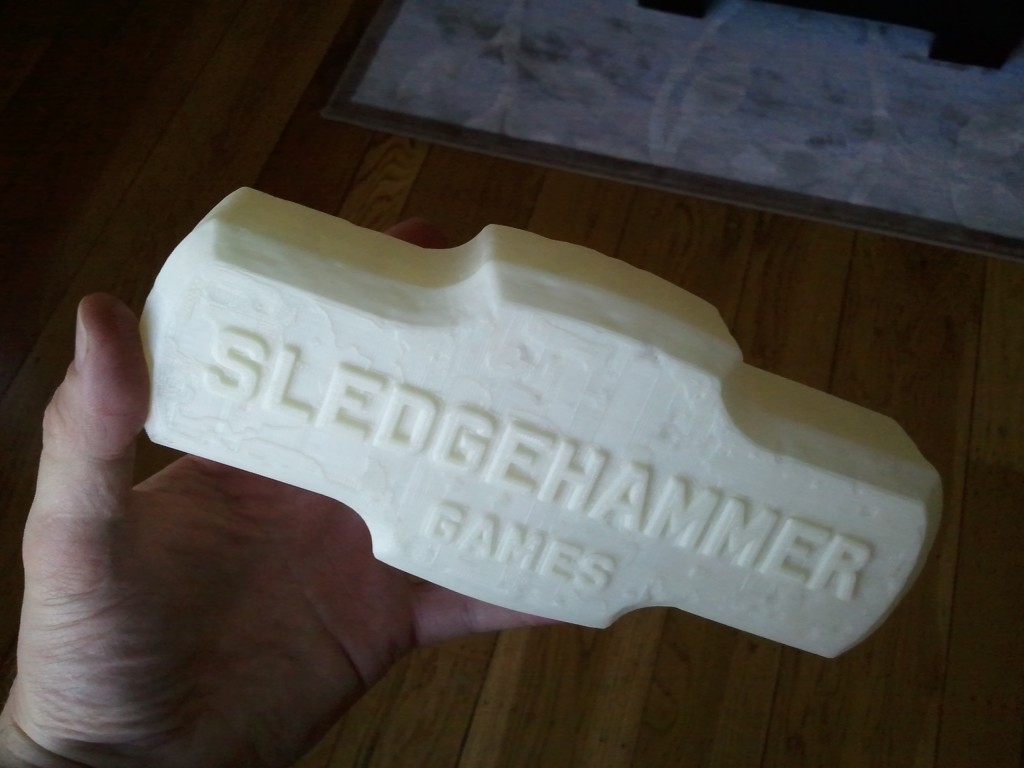
I’ve finally successfully printed a life-sized sledgehammer.  It doesn’t look half bad:

It also took 7.5 hours to print with 5% infill.  But worth it?  Yes.  Next is spray-paint.

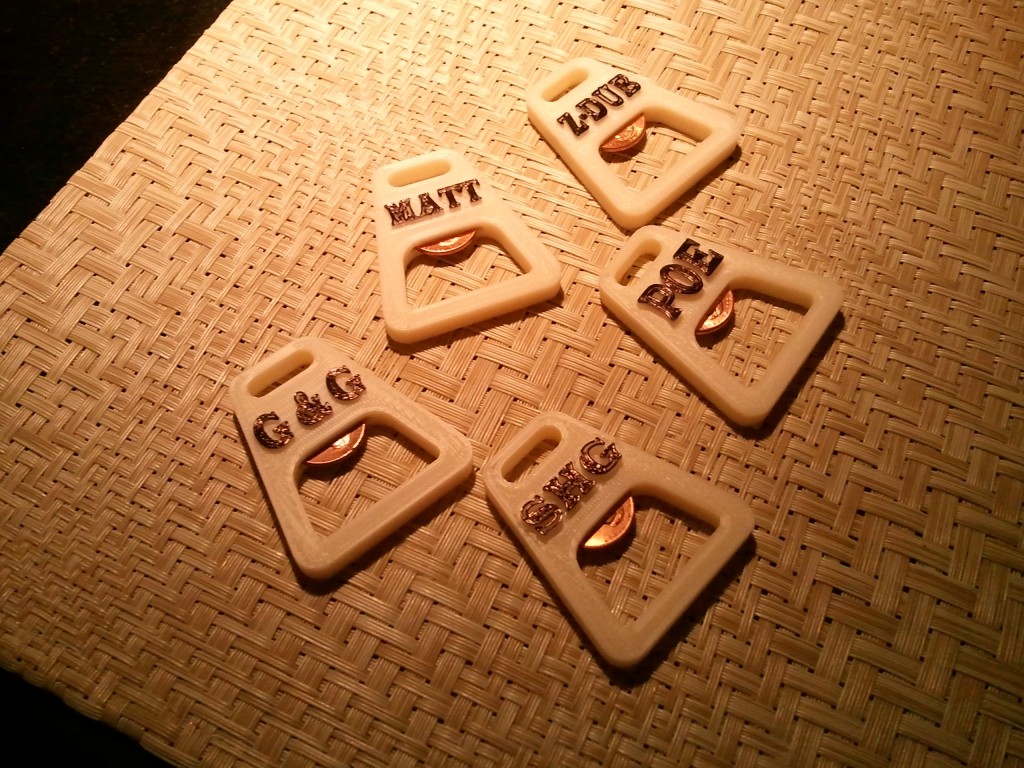
Also been printing some custom beer-bottle openers, based on this thing:

I created the text & modified the mesh in Maya, exported as obj, converted to stl via MeshLab, and converted to gcode in ReplicatorG.  Made the text black with a Sharpie 😉

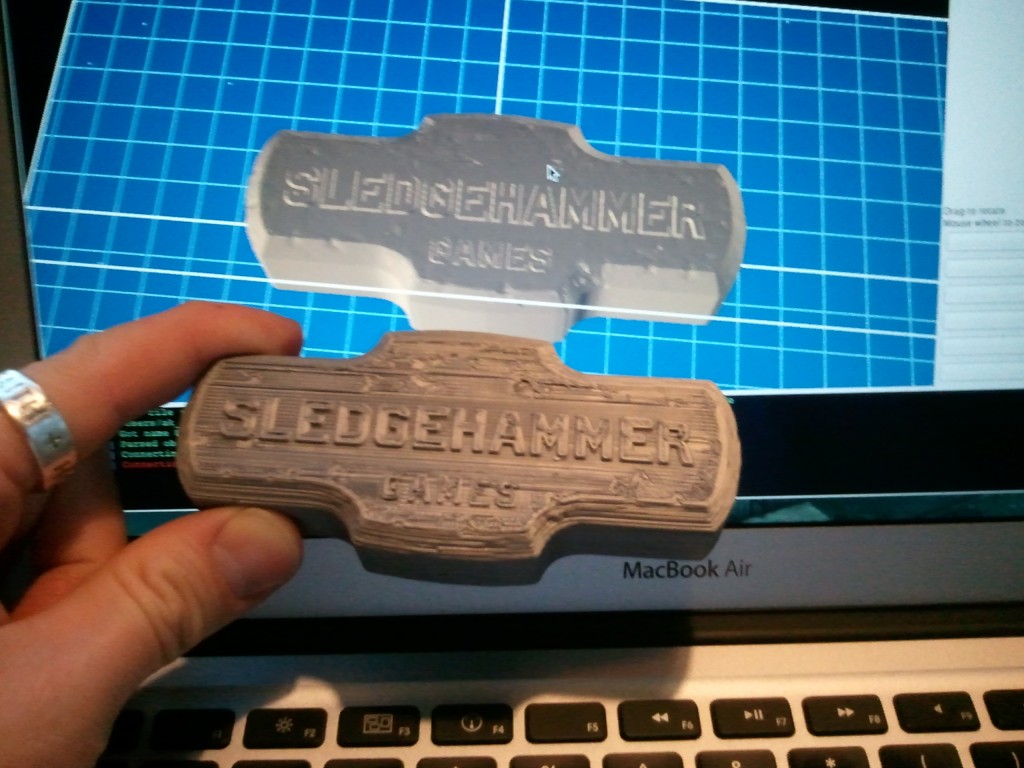
New print: Mini-Sledgehammer

Today I printed a mini-“Sledgehammer Games” logo (the company I work for).  I thought it would be an interesting practical experiment using a custom-modeled .obj file, tweaking it to print well on the platform.  I think it turned out pretty well.  Next up will be a life-size version 😉