4WOC: Week 3
This post will follow my next 7 days of creativity. Back to Week 2, forward to Week 3
Day 21: Sunday, December 1st, 2013 :
Scanning Printers
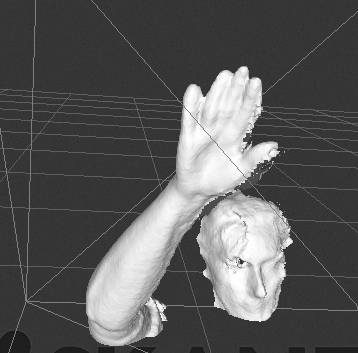
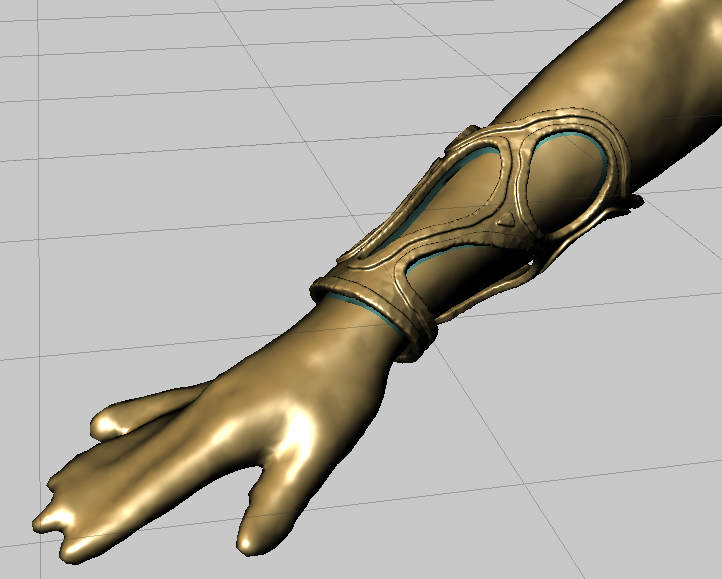
I picked up a used Xbox 360 Kinect at the local Game Stop for $50 & downloaded the trial version of Skanect (for Mac). I have this idea in my head of scanning body parts (arms, heads, feet), drawing 3d mesh on them, and then printing the result to create cool masks\shoes\etc. For my first attempt, I thought it’d be funny to scan my Makerbot Replicator:
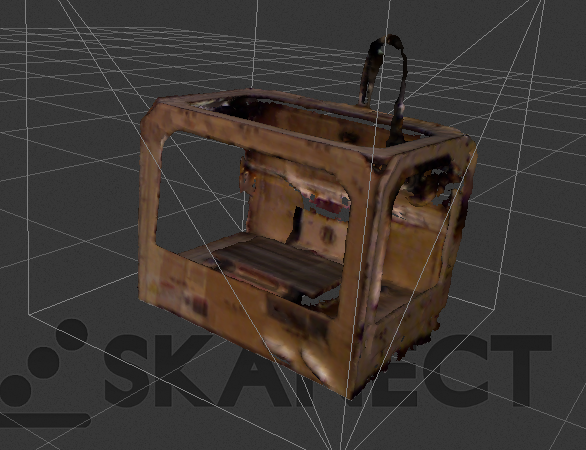
I don’t think my Macbook Air is cut out for this heavy kind of processing: My attempts to scan the whole thing, 360 degs, would crash the software repeatedly. I could get away with scanning just the front and sides, but unless I dropped the reconstruction option to “low”, it would crash as well. I have yet to figure out if I can get GPU processing enabled… currently it’s disabled despite the fact I have a GeForce 320m card in my laptop. The free version only outputs mesh with 5000 tri’s… but I’m not sure if I want to drop $129 on a piece of software that crashes often (I’m guessing due to my hardware setup) and may not do what I want (questionable short range resolution). Unfortunately it’s about the only option I’m aware of for Mac that uses the Kinect.
Day 20: Saturday, November 30th, 2013:
Was out of town on trip. Limited creativity. Unless you count wine tasting creative 
Day 19: Friday, November 29th, 2013
The end of Kivy: I successfully got an app working where I click on screen, and it draws circles with a texture with a tinted color. Way to much effort unfortunately. Don’t get me wrong: I’m sure if I was writing a full-blown mobile app I would continue to be more enthused: It has a great 2d widget library. But just for throwing a lot of sprites on screen, I’m just not getting it. Probably based on my own ignorance of the language, but to knock that stuff out in Processing or PyGame just seems way easier. I could post a photo but well… it’s just sad.
Day 18 : Thursday, November 28th, 2013
Thanksgiving. I creatively ate some Turkey.
Day 17 : Wednesday, November 27th, 2013
Nervous Printing
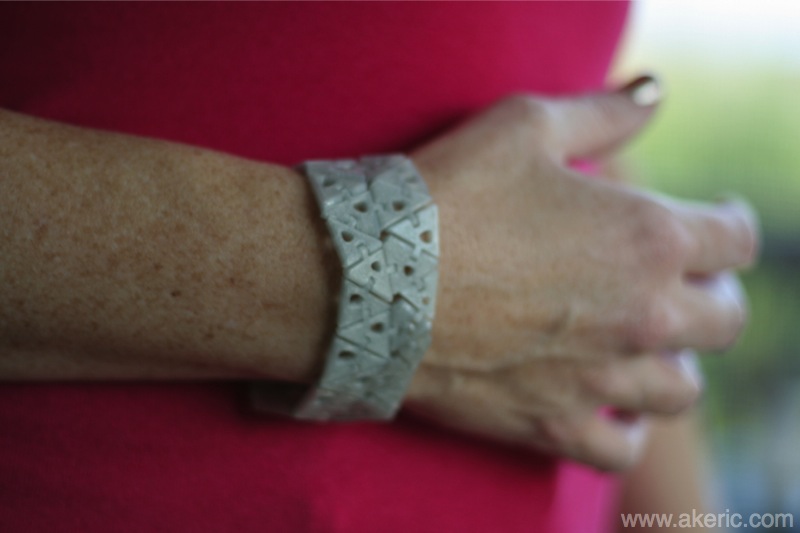
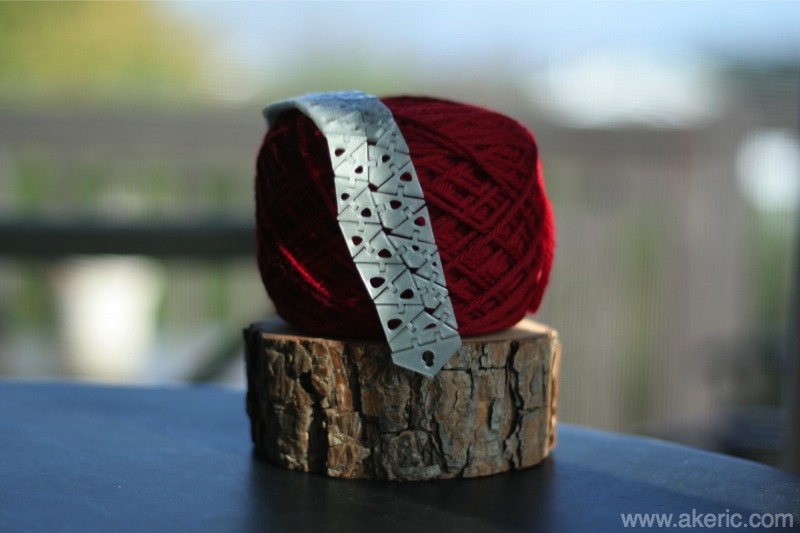
While reading my feeds today, I ran across this one, by Nervous Systems: Kinematics. I really enjoy and appreciate the designs\art\jewelry\code they create as I’ve followed them over the years. I was immediately fascinated by their online “Kinematics App” (apparently written in JavaScript). That looked great, but only generates items for purchase. I then tracked down the companion app “Kinematics@Home“, which allows you to generate simplified designs, and they provide you with a stl file for download. Seemed perfect to fill todays ‘creative slot’.
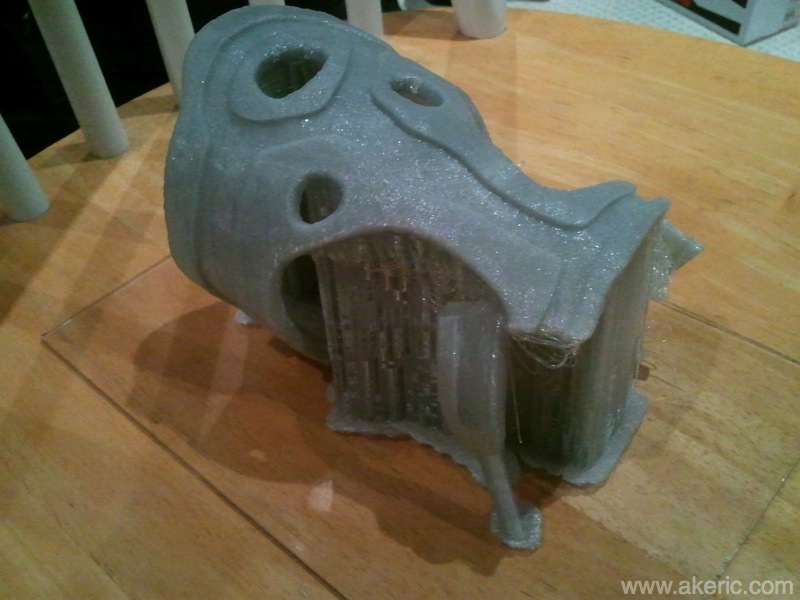
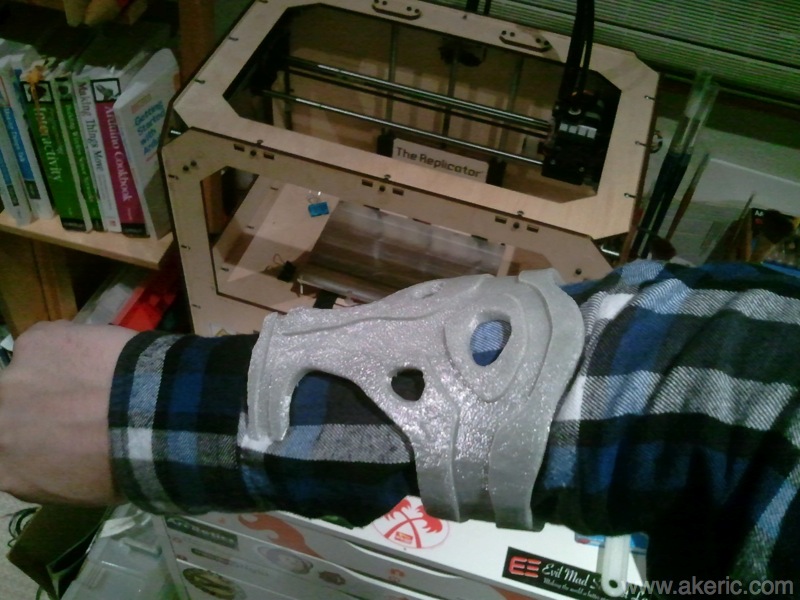
Making the design was easy, and downloading the stl went without a hitch. I dropped it into Makerware, and in 1hr 22min later of printing on my Replicator, I had a functional bracelet.
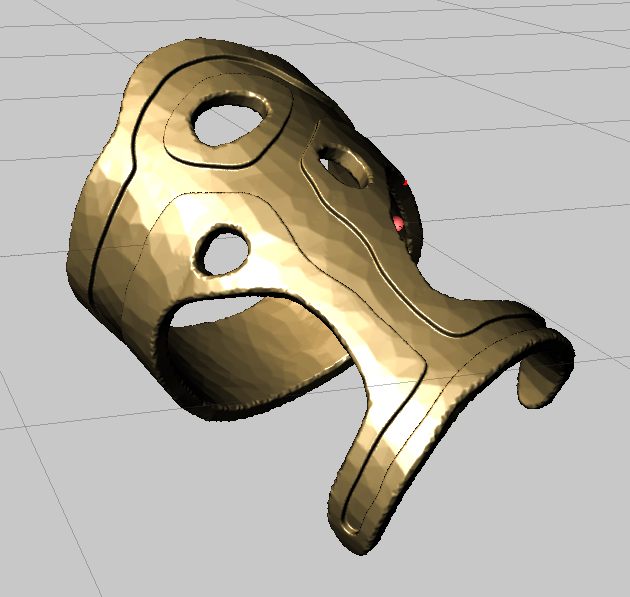
There were problems however: Some of the mesh on the side with the clasp-peg didn’t print properly. I’d seen a similar issue before, that happens when multiple shells (individual pieces of 3d mesh) intersect one another. I quickly resolve, I uploaded the stl to Netfabb Cloud, and a few minutes later, I had a repaired stl file. According to the repair report, the “bad” stl had 425 holes, and 381 separate shells. The fixed version had no holes, and 45 shells: The exact same number of segments the bracelet has.
You can download the stl for printing and get more info/picsover on Thingiverse.
Day 16 : Tuesday, November 26th, 2013
Even More Kivy!
Although I really have nothing visual to show for it, I did a lot more Kivy learning : Trying to wrap my head around the general process flow when an application starts, and the main important built-in methods. I also tried to draw a simple sprite… and didn’t have much success, I’m sure I’m missing something fundamental.
I’m starting to update my Python wiki with a Kivy section.
Total time: about an hour and a half.
Day 15 : Monday, November 25th, 2013
More Kivy!
Yesterday (day 14) I got the latest version of Kivy installed. I had ran into some problems however getting it to properly debug with Wing IDE, based on my Mac development environment. I kept getting exceptions:
Traceback (most recent call last):
  File "/Library/Frameworks/Python.framework/Versions/2.7/lib/python2.7/site-packages/kivy/core/window/window_pygame.py", line 180, in set_icon
    im = pygame.image.load(filename)
error: File is not a Windows BMP file
So with a little bit of trickery I was able to modify the set_icon() function in window_pygame.py to this:
def set_icon(self, filename):
    im = None
    try:
        if not exists(filename):
            return False
        try:
            im = pygame.image.load(filename)
        except:
            pass
        if im:
            pygame.display.set_icon(im)
            super(WindowPygame, self).set_icon(filename)
    except:
        Logger.exception('WinPygame: unable to set icon')
More notes over on my Python Wiki, but boom: Debugging in Wing successful.
Bolstered by that success, I was able to get through both of Kivi’s tutorials:
I also got
PyInstaller installed, as a first step to making packaged Apps in the future, since that is the method Kivy recommends.
My hope was I would find the same initial joy I found in the Processing API in Kivy. Truth is, this isn’t the case: There is a lot more overhead in Kivy to get this working compared to Processing. That being said, I see promise: It’s super easy to get pretty things working in Processing, but to take your apps to the ‘next level’ there is a lot of overhead… namely needing to really dig into Java, and fully grok Eclipse. I have a feeling once I learn it, it should be the reverse in Kivy: More overhead to get simple things working, but far easier to take them to the ‘next level’. Time will tell.
Total time: About 2 hours.
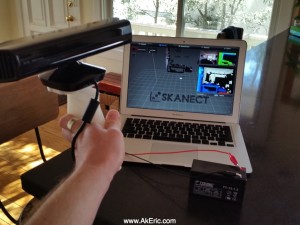 I’d done a few experiments in the past with the Kinect / Skanect software (here, here). The biggest issue (other than my underpowered Macbook Air) was that you’re tied via the USB cables to both the computer, and the electrical socket in the wall: Hard to walk around things to scan them.
