Raspberry Pi WebIDE & making things blink
On the Raspberry Pi, just like on the Arduino, the first thing you learn how to do is make an LED blink. The Raspberry Pi Users Guide walks you through this process, but this was one of the few areas (so far) with the Pi that I ran into trouble, namely over proper access to the GPIO pins, the Pi Cobbler‘s ribbon-header orientation, and how to physically code on the Pi itself.
GPIO Pin issues
There appears to be two different ways to access the pins via the RPi.GPIO Python library: Via the ‘board pin numbers’ (1->32), or via the ‘GPIO numbers’, which many sites (like this one) refer to. In addition, hardware expansions like Adafruit’s Pi Cobbler (which I’m using) base their silk-screens on the ‘GPIO numbers’. Long story short, you simply need to tell your code ahead of time which method you’re using:
To use the physical board numbers:
import RPi.GPIO as GPIO
# Set to use physical board pin nums, rather than GPIO nums:
GPIO.setmode(GPIO.BOARD)
To use the ‘GPIO’ numbers:
import RPi.GPIO as GPIO
# Set to use GPIO nums, rather than physical board nums:
GPIO.setmode(GPIO.BCM)
Pi Cobbler Issues
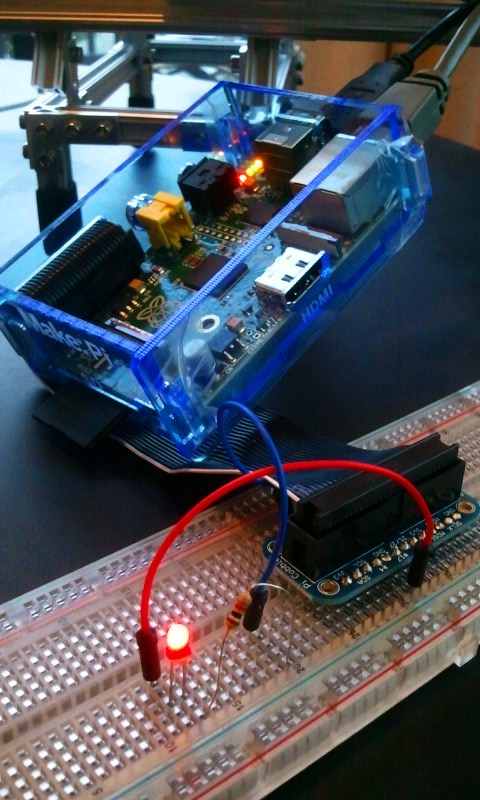
I got the Pi Cobbler via the Maker Shed’s “Raspberry Pi Starter Kit“. The kit comes with a lot of good stuff to get your started (including the LED that’s blinking next to me). The Cobbler cable has a header on each end (one plugs into the Pi, one into the Cobbler itself), and each header has a notch on the side to help you understand how to orient it. At first glance, it looks like the headers are interchangeable… meaning, you could plug either one into the Pi, or the Cobbler. Very long story short, that’s not true: To get the side of the cable with the stripe to line up properly with the GPIO pins on the Pi… only one side will work. I was convinced I had a defective cable that required me to plug it in backwards. But two days later I realized if I simply flipped the whole cable around everything ‘just worked’. The Cobbler documentation stresses you insert the cable with the side with the stripe to the left side of the Pi,… but since I thought mine was screwed up…. chaos ensued. Funny that I didn’t figure this out until I finished this blog post. The above pic in fact shows the ‘flipped’ insertion in the Pi before I corrected it.
Coding Issues
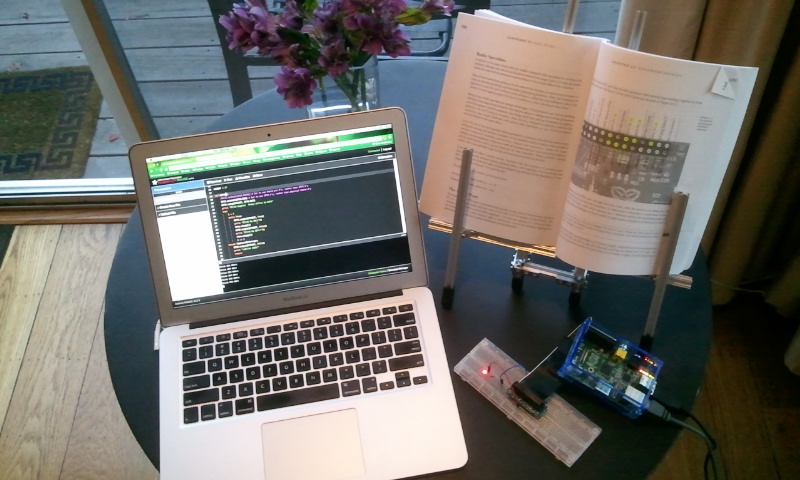
The final issue I hit was how to actually code Python on the Pi: I use Wing IDE Professional, and have grown very used to it… but they have no Linux ARM distribution (that I’m aware of). Going back to IDLE is painful… and I’ve never been a VIM user. Based on a previous post I can SSH and VNC into the Pi from my Mac, allowing me to code on the mac and copy\paste over to the Pi for execution… but this is still pretty clunky. After researching for a while I realized, why don’t I try Adafruit’s Raspberry Pi WebIDE? Installation was easy based on their tutorial, and I was up and running in no time.
Here is my code to make the LED blink, running in the WebIDE\Pi as I type…
#!/user/bin/env python
"""
gpiooutput.py
Modified from pg 195 of "Raspberry Pi Users Guide"

Make a LED flash on\off.
Hardware Setup:
* LED+ lead hooked to GPIO 17 (board pin 11)
* LED- lead connected to resistor.
* Resistor connected to ground (board pin 6)
"""
import time
import RPi.GPIO as GPIO

# This is the GPIO number.  The actual board pin is number 11.
PINOUT = 17

def main():
    GPIO.setmode(GPIO.BCM) # Set to use GPIO nums, rather than physical board nums
    GPIO.setup(PINOUT, GPIO.OUT)
    print "Blink begins!  Press ctrl+c to exit"
    try:
        i = 1
        while True:
            GPIO.output(PINOUT, True)
            print "Blink %s ON!!"%i
            time.sleep(2)
            GPIO.output(PINOUT, False)
            print "Blink %s OFF!!"%i
            time.sleep(2)
            i += 1
    except KeyboardInterrupt:
        GPIO.output(PINOUT, False)
        print "\nBlink DONE!"
        return

if __name__ == "__main__":
    main()
The WebIDE doesn’t have any fancy features yet (that I’m aware of) like debugging & code-completion, but it is alpha software, so hopefully it will become more robust as time goes on. On the plus side, it will auto-connect to the Pi over the network (no need for SSH), gives you a built-in terminal for the Pi, and stores all the code in the cloud via Bitbucket (if you’re into that sort of thing).
And thus, the fruits of my labor:

