Lexan: The 3D-printer build platform of the future
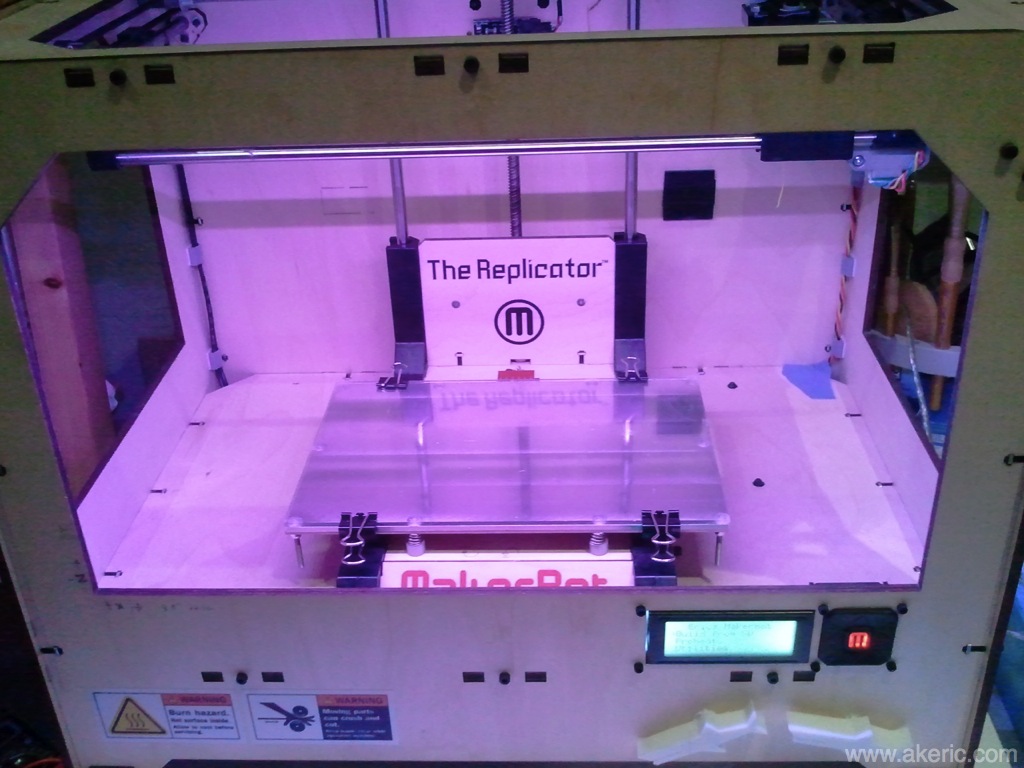
Before we get started, here’s the end result:
Now let’s go back in time….
Being a Makerbot Replicator (1) owner, I don’t have a removable print platform: The results are printed directly onto the HBP (Heated Build Platform), from which you have to remove them upon completion. If it is a large print, and stuck on there really good, it can totally screw up your leveling\calibration for the next print, based on all the torquing that you inflict upon the platform getting the print off. Furthermore, if you print in ABS, there’s a good chance you’ll somehow mangle the Kapton tape stuck to the HBP, or printing with PLA, rip up your blue painters tape.
While browsing the Makerbot Operators Google Group, I read about people using glass as a cover for the HBP: Not only does it give you a completely level surface, but by putting down a layer of hairspray on it, your parts can stick to it as well. I was about to go out and and get some glass cut, when I ran across another thread talking about Lexan (a polycarbonate) being used as a build surface (that guy is selling it pre-cut for the Replicator 2, but since I’m Rep1, I’m out of luck and have to come up with my own solution). Plugging that keyword into the Googles, I found many other people had used Lexan successfully, so I thought I’d give it a shot: I liked the idea of something that couldn’t crack and slice my hand open under stress as my print bed. All that being said, I read many arguments for the pro’s and con’s of each (glass, Lexan, acrylic, etc). This post is mainly about the pro’s I’ve encountered with Lexan (no con’s yet).
Went to Home Depot, and picked up an overside sheet since I’d never worked with the material before: Wanted to make sure I could do some test cuts before I did the real thing. Here’s an example of what I purchased.
It turned out to be really easy to slice up on my table saw. Armed with some binder-clips, I had it mounted to my Replicator in no time. But then the first problem dawned on me: the platform is now 2.35mm higher than before. How can I compensate for this height adjustment? The adjustment screws weren’t giving me enough play. Querying the forums, I found out you can actually adjust the z-axis switch location. On my bot, it is mounted in fixed holes on the back wall. But unscrewing it, you can move it over to a variable position system (which I’d never noticed before) which sovles this problem: I moved it down the desired amount, re-leveled the whole platform, and thought I was in business.
Then the second problem appeared: After clipping it to the build platform, the Lexan was warping. As it turns out, the bolts that hold the HBP together actually stick up a small amount above the platform. I’d noticed this before when applying the tape, but since it’s on the extremities, never thought much of it. But when the clips press down on the lexan, they flex around those bolt-heads causing for an uneven surface. I took a close-up shot of the problem:
In the above image, you can see the calibration bolt, and you can see how to the right, the lexan has risen slightly above the build surface. This made for some really bad initial printing tests.
I got the thought in my head to mill out the area around each bolt-head using my drill press: I used a black sharpie to mark the position of each bolt-head on the lexan, and drilled out a few mm if the Lexan at each spot:
I should note that it’s important to have your lexan on some other hard flat surface when drilling: My drill press has an open-space on the platform below the drill bit (normally you want that so you don’t drill straight into the platform’s steel bed). But I found that the area beneath the carved-out zone would bulge under the drills weight\heat\pressure, which is obviously no-good. Putting another piece of lexan under the first, and drilling very slowly solved this bulging issue completely.
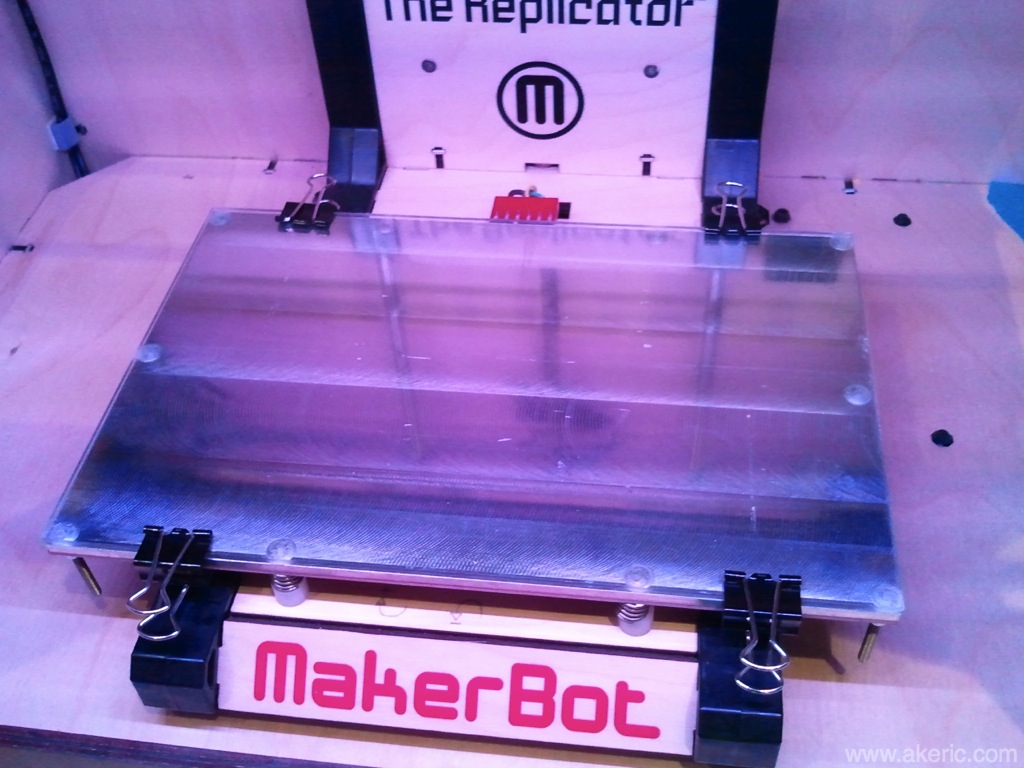
Clipping that back to the HBP gave great results:
The Lexan mounts completely flat to the HBP now. When I level it with my awesome calibration tool, I can get it within .01mm across the whole platform.
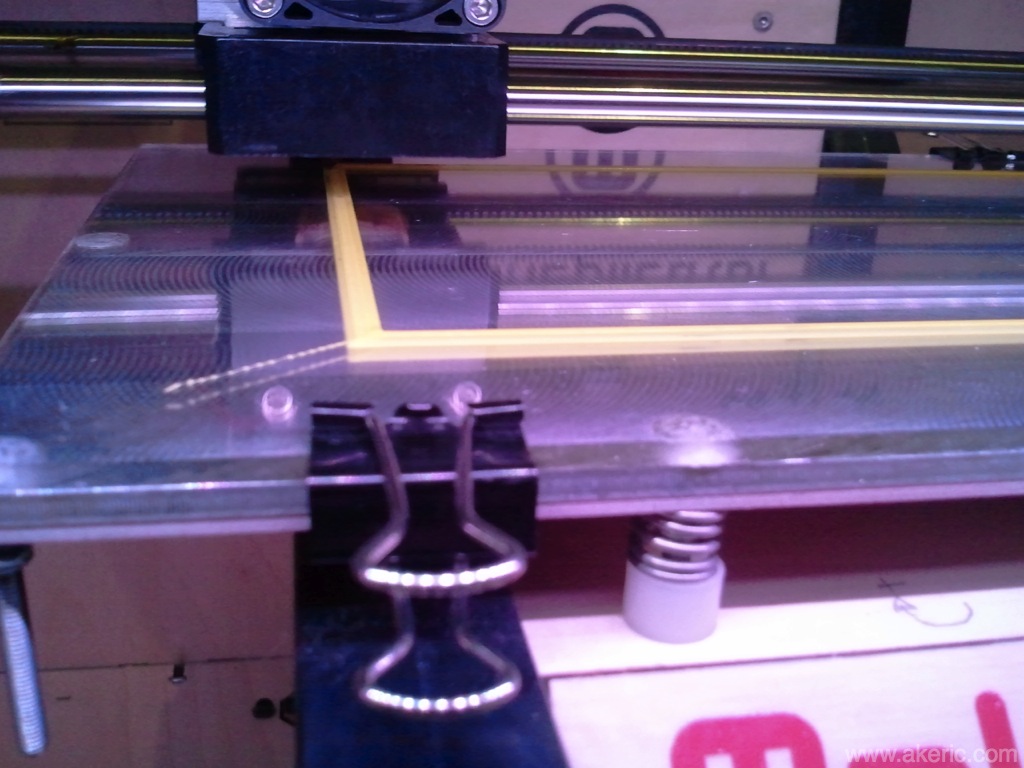
The final print results are great: PLA sticks to the Lexan super good. For smaller items (yet to print anything ‘big’), I need use my razor blade scraper to get them off. And for bigger prints, since the Lexan is flexible, they should be much easier to bend and ‘pop’ off. And of course, the whole thing is just held on with binder-clips, which means in theory I won’t need to keep re-leveling my platform after a tough print fails to release. Plus I can cut back on my blue-tape usage…
So here are some shots of the end result. Overall, extremely happy with the results.


