C-Bot: Taming the Volcano’s print settings
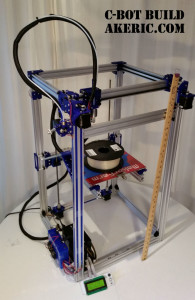
The C-Bot has been a lot of fun to play with. And slightly dangerous: “Quick” five hour prints can easily cost close to $20. And while it’s been good at printing large vases and shelves, I’ve not been happy with it’s small-scale detail. The biggest problem is the 1.0mm E3D-V6 Volcano nozzle leaving blobs all over the place. But after a good… 12 hours of making test prints, I’ve finally got it to a place where I’m starting to get happy with the results (based on my initial settings discussed here). Below I’ll walk though the details.
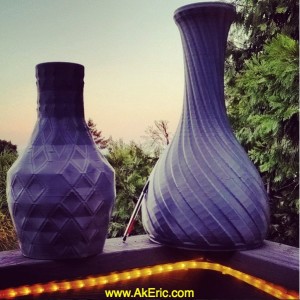
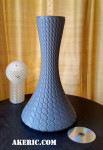
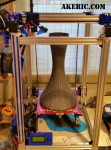
All of the vases and shelving I’ve made (here, here, & here) have been printed at 45mm/sec, in PLA, at 250 degrees. Which is way to hot for PLA, but I learned that when slicing in Simplify3D’s ‘vase mode’, at that speed, if lower temps are used, the print will delaminate into a slinky when done.
For whatever reason, 45mm/sec was a very important speed in my head, so I spent days trying to calibrate the nozzle at that speed. But it’s been hard. So finally today I brought it back to 30mm/sec, and finally, with a ton of fiddling, got some good results. The slicer terms I discuss below are based on Simplify3D‘s settings.
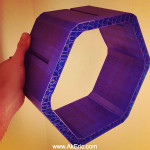
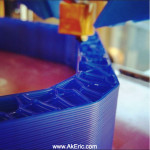
Compare prints A & B (500 micron layers you see there), each 40mm across:
 Same model, same orientation, different print settings.
For the life of me, I couldn’t get rid of all the zits on print A: Even though I had retraction enabled, whenever the hotend would come to the end of a segment, I could physically see a bit of filament extrude out. No amount of additional retraction, ‘wiping’, ‘coasting’, or ‘extra restart distance’ would solve the problem. Finally, in the ‘Advanced’ tab, I checked on ‘Perform retraction during wipe movement’, and print B was born. At this point I easily had a small bucket full of test prints, so I was pretty happy, and may have lol’d a bit.
From there, I gave the Make 2012 Torture Test a try again: I’d done it before, and… I didn’t take a pic, it looked like my printer had thrown up all over the place. So while the below image looks pretty sketchy compared to some finely-tuned .4mm nozzle machine printing at 100-200 micron, for this beast, I’m pretty happy:
 (Note, I intentionally didn’t show the back : The rainbow arch did fail. But it almost made it… )
Based on all of that, here’s the highlights of the Simplify3D settings:
Material:
- Gizmo Dorks Gray PLA, printed on glass covered in wood-glue slurry.
Extruder Tab:
- Nozzle Diameter: 1.0
- Extrusion Multiplier: 0.9
- Extrusion Width: Manual : 1.0
- Retraction : On
- Retraction Distance: 10mm
- Note, the “E3D-v6 Troubleshooting Guide” says not to use retractions over 5mm, since they can pull the filament into the cold-zone. But this is for their default (smaller) nozzle\hotblock, and the Volcano is already 10mm longer than it, so a 10mm retraction has been working ok.
- Retraction Speed: 60mm/sec
- Wipe Nozzle: On (This pairs with the wipe setting in the Advanced tab, below. Weird they split the settings into multiple tabs…)
- Wipe Distance: 3mm
Layer Tab:
- Primary Layer Height: 0.5mm
- Top Solid Layers: 3
- Bottom Solid Layers: 2
- Outliner/Perimeter Shells: 1
- First Layer Height: 75%
- First Layer Width: 110%
- First Layer Speed: 75&
Temperature:
- Extruder: 210c
- Heated Bed: Off
Coolling:
- Fan turns on, on layer 3.
Other:
- Default Printing Speed: 30mm/sec (printing at faster speeds requires hotter print temps to get the filament melted in time)
- X/Y Axis Movement Speed: 60mm/sec
- Filament Diameter: 1.75mm (as measured, pretty spot on)
Advanced:
- Only Retract When Crossing Open Spaces: Off (this speeds things up, but lowers outer shell quality when only printing with one shell).
- Force Retraction Between Layers: Off
- Perform Retraction During Wipe Movement : On (this is where the magic happened)
So now that I have it working at that speed, next up will be to see if I can get similar positive results, but faster!
