Howto: Pause Marlin for filament reload at a specific layer number
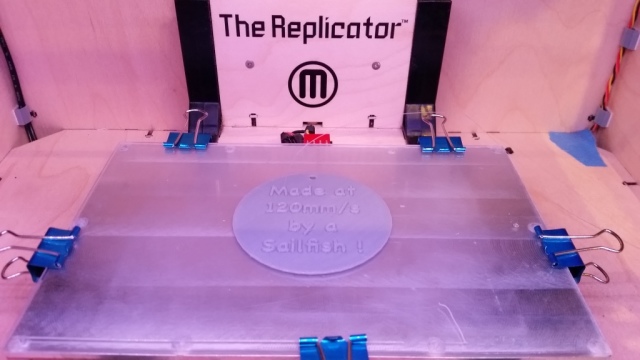
I’ve had fun in the past printing maps with water (SF Bay, Oahu) : Using my Replicator 1 & it’s Sailfish firmware, it was easy via the LCD to set a specific layer number to pause at: Doing this, I’d calculate which layer the print transitioned from water to land, pause it there, and swap filament.
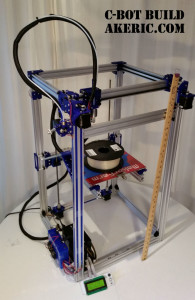
Marlin firmware (which is on my C-Bot) gives you no such feature via the LCD : Which means you have to monitor the print, and when it appears land is printing, you quickly pause the bot, go through the manual steps (via the LCD) to lower the bed, possibly move the hotend out the the way, and do the reload. Afterwards (via the LCD) you have to get everything back into position. Awkward. I am aware that the latest cut of Marlin allows for filament reload via the LCD: I’ve been unable to get it to work. And even if it did work, it’s still not accurate enough since I’m guessing at the layer to pause at. There must be a better way!
There is: You can directly edit the .gcode to insert a chunk that will do exactly what you need: Lets say you want to pause just before layer 2 starts: You’d find the line starting with the layer change comment…
; Layer 2
in your .gcode file, and then paste this right above it (I’ve included the layer change comment in the below code, plus comments for what the commands are doing):
G91                  ; Put in relative mode
G1 Z10               ; Lower bed by 10mm
G90                  ; Put back in absolute mode
G1 X0 Y0             ; Zero (home) the X & Y
M0 Click To Restart  ; Pause and wait for the user
G91                  ; Put in relative mode
G1 Z-10              ; Raise the bed back up 10mm
G90                  ; Put back in absolute mode
; layer 2, Z = 0.45
Works like a charm 
If your slicing software supports post-processing of the gcode, it’s possible you can do this work directly in the slicer. I slice using Simplify3D: In a given process, it has a section in its ‘Scripts’ tab, at the bottom, called ‘Additional terminal commands for post processing’. This allows you to enter in script to do a text-replace in your file, to edit it for you. I learned about it on a forum post here.
To do the above using that system, you’d need to enter this text into that field:
{STRIP ";   postProcessing,"}
{REPLACE "; layer 2," "G91 \nG1 Z10 \nG90 \nG1 X0 Y0 \nM0 Click To Restart \nG91 \nG1Z-10 \nG90 \n; layer 2,"}
Some really important things to note:
- The fist line that says ‘STRIP’ is super important: If you don’t do this, Simplify3D will embed a copy of the REPLACE line in the header of the gcode, but won’t properly comment it out, basically ruining the gcode.
- In the STRIP line, there needs to be exactly three spaces between the semicolon ‘;’ and the ‘postProcessing text. Any more or less will screw up the strip. If you copy-paste this code, make sure there are three spaces in there.
- As you can see, you need to insert newline characters (\n) into the string you’re building for it to show up properly in the gcode later.
Other notes:
- Handy-dandy gcode reference.
- If you don’t enter in some text after the M0, it’ll never un-pause (at least for me).
- I got most of the code on my own, but was able to finish it off based on the help from this thread.
- My printer starts off in absolute mode by default: I know this because up at the top of the gcode, I can see a G90 command.
- The S3D forum post here (under “Additional Terminal Commands For Post Processing”) list other post-processing commands you can use.

