Posts Tagged ‘ makerbot replicator

Printing PLA with the Replicator

I’ve been printing in ABS since receiving my Replicator last year.  Today I finally made the switch over to PLA.  The ‘why’ is mainly to try something new… see how a new medium prints.  But there are other benefits:

  • PLA doesn’t need to have the HBP (heated build platform) heated to 110 deg Celsius like ABS does :  I read it dosen’t need to be heated at all, but many people find success at around 40 deg C.  What this means is the HBP heats a lot faster…. meaning things print faster.
  • You don’t have to affix kapton tape to the HPB:  ABS sticks really well to kapton tape, and that’s why it’s used.  But it’s difficult and time consuming to get the tape applied to the HPB:  PLA can print on ‘blue painters tape‘, which is much more forgiving when being applied to the HBP.
  • PLA is biodegradable:  More ‘green’ than ABS.

First test run successfull, pic below.  Some notes on the process:

  • Extruder temp set to 210 deg C.
  • HBP temp set to 40 deg C.
  • Purged the ABS by ‘loading’ the PLA for 5 minutes straight, per online docs.
  • GCode compiled via ReplicatorG 0040, Replicator firmware 6.2.
  • Used ‘natural’ colored PLA, it’s semi-transparent.

I’m still getting a ‘bug’ where when during the pre-heat, filament ‘leaks’ out of the extruder nozzle.  On the ABS it would happen slowly, but with the PLA, I can physically see it leak out.  The side effect is the ‘anchor’ it first builds on the corner of the HBP doesn’t always fully form… which can screw up the start of the printing session.  But this first print tured out a-ok.
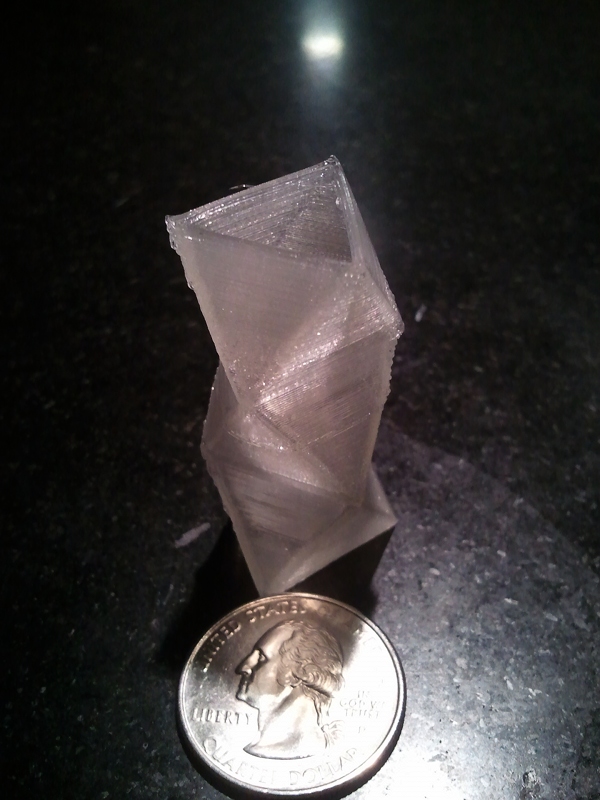
Tiny PLA vase : Success!

Sad Replicator, Happy Replicator

Last weekend I printed out this Makerbot Snowman for a ‘secret-Santa’ gift exchange:

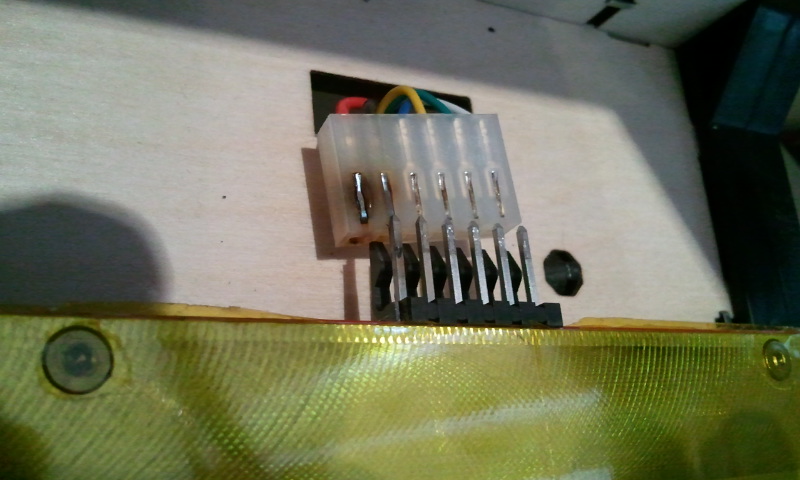
All together took around 7 hours.  The next day I went to do another print.  But something was wrong.  The Heated Build Platform wasn’t ‘heating’… it was stuck on 14 degs.  Upon closer inspection I saw this:

(it was plugged in at the time, un-plugged for drama)

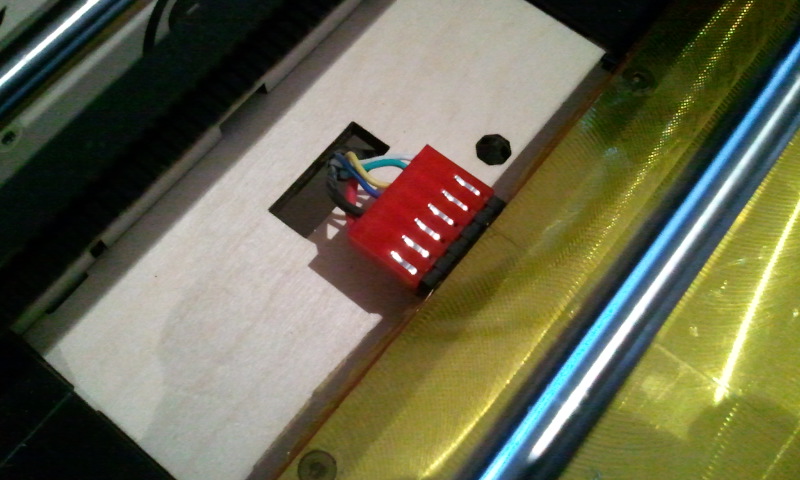
Fried.  Contacted Makerbot tech-support, and 5 days later I had a new wire & connector in-hand, no charge.  Plugged it all together:

And now it’s happily printing again.  It’s probably hard to tell from the pics, but the positive and negative leads on the new connector are a larger gauge:  Support said that the newer models ship with the larger wires, presumably because of these issues.


Latest 3d print: Botmobile

I thought it would be a good experiment to try 3d printing something ‘more complex’ on my Replicator:  Enter the “Botmobile”

First off, some pics!

Here’s all the 3d parts printed out, plus the electronics kit… which is no longer available in the Makerbot Store:  I talked with Makerbot support, they’ve discontinued it :-(

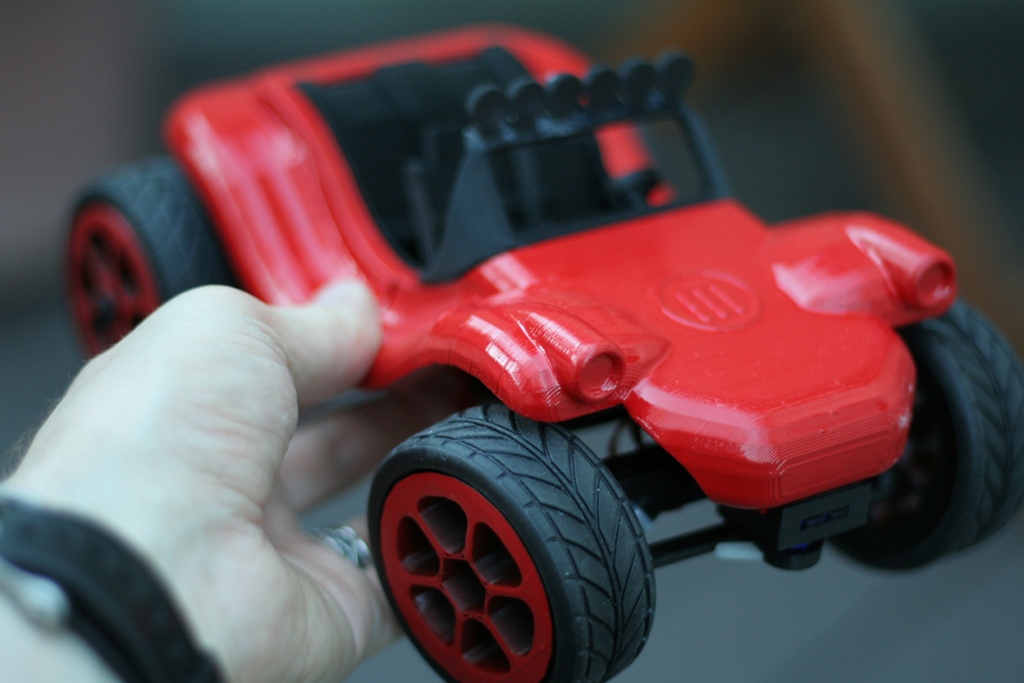
And here’s the finished thing:

It was quite a process to get everything printed out, but overall, really enjoyable and I didn’t encounter any problems.  I printed everything out in black ABS, and then spray-painted the body and wheels cherry-red (same as the previous bowl I printed).  The assembly went off without a hitch, and other than having to slightly adjust the front steering servo, it started driving right away.  Overall, I wouldn’t call it a ‘high performance’ RC vehicle:  Already the gearbox is starting to strip (and I can’t figure out why, it seemed pretty tight when assembled), and the front wheels hit the battery-box when turning sharp (underneath, in the middle) if you don’t trim it right.   But it does drive around and steer, so mission accomplished there.

Everyone’s been asking how long it took to print.  I’ve had little luck successfully using the ‘accelerated’ setting on my Replicator, so it’s all been ‘standard print times’.  There were multiple files to print, here’s the time estimates for each:

  • Windshield: 1h 7 min
  • Rear Axel: 1h 34 min
  • Back half of body: 4h 51 min
  • Front half of body: 5h 22 min
  • Gearbox: 2h 21 min
  • Interior seats: 2h 57 min
  • Front steering assembly: 1h 44 min
  • Wheels (all four): 8h 41 min

So that adds up to 28 hours 37 minutes.  It didn’t seem that long though:  Most of the long prints I did overnight:  I hooked up the printer to my a light timer (the type you plug your lights into when you go on vacation so you can turn them on\off at a certain time), and would set it to auto-turn off the printer about half hour after the print should finished.  Worked perfectly every time, didn’t have any misprints.

As of the time I printed it, I’m one of four people who have ‘made it’ on Thingiverse.  So it’s a unique feeling to know that… not many people on the planet have a 3d-printed RC car.  Here’s a few more pics:

New 3d print: ‘Decorative Bowl’

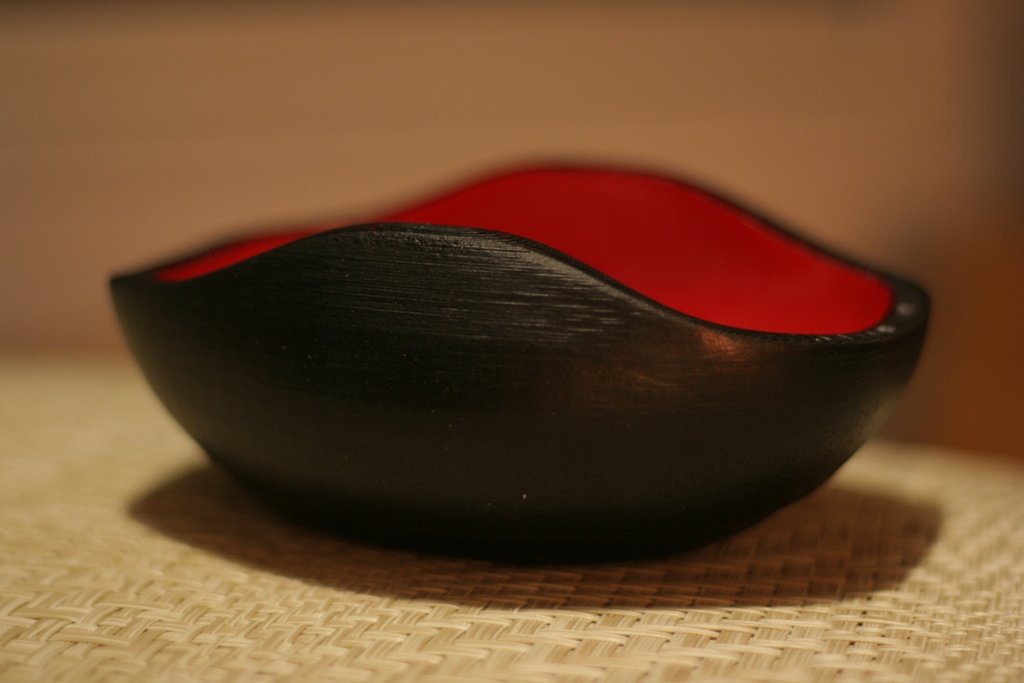
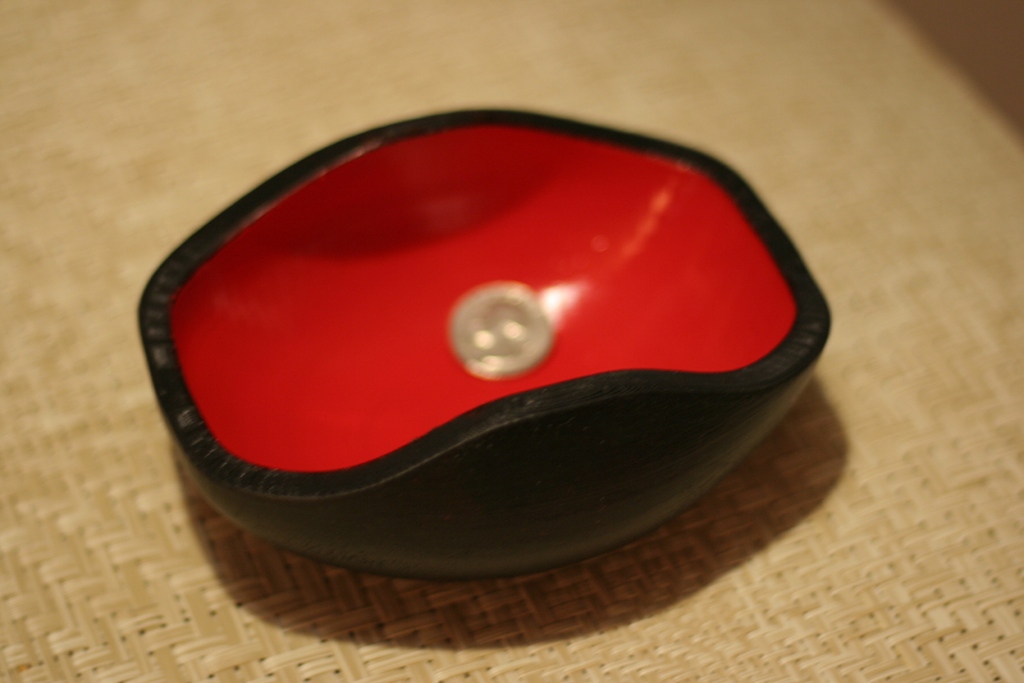
I got it in my head to try a ‘simple bowl’ print, and generated the below model in Maya.  It started out as NURBS, I slapped a lattice on it to get it into the desired shape, then converted it to polys for export.   It’s about 4.5″ wide, 5.75″ deep, and 2.5″ high.

The final product I painted two-tone with spray-paint:  The outer shell is a rubberized spray, I wanted to see how much it would ‘fill in’ the printing ridges.  After four coats, it had just started too.

The inside was sprayed with a bright cherry red.  None of the surfaces were sanded, but I think I’ll try that finishing method on the next one I print.

The whole thing took a bit over seven hours to print on my Makerbot Replicator.

You can download the .stl for printing from Thingiverse.

New custom 3d print: Hexagonal candle holder

I’m stuck with hexagons for the time being, I might as well accept it.

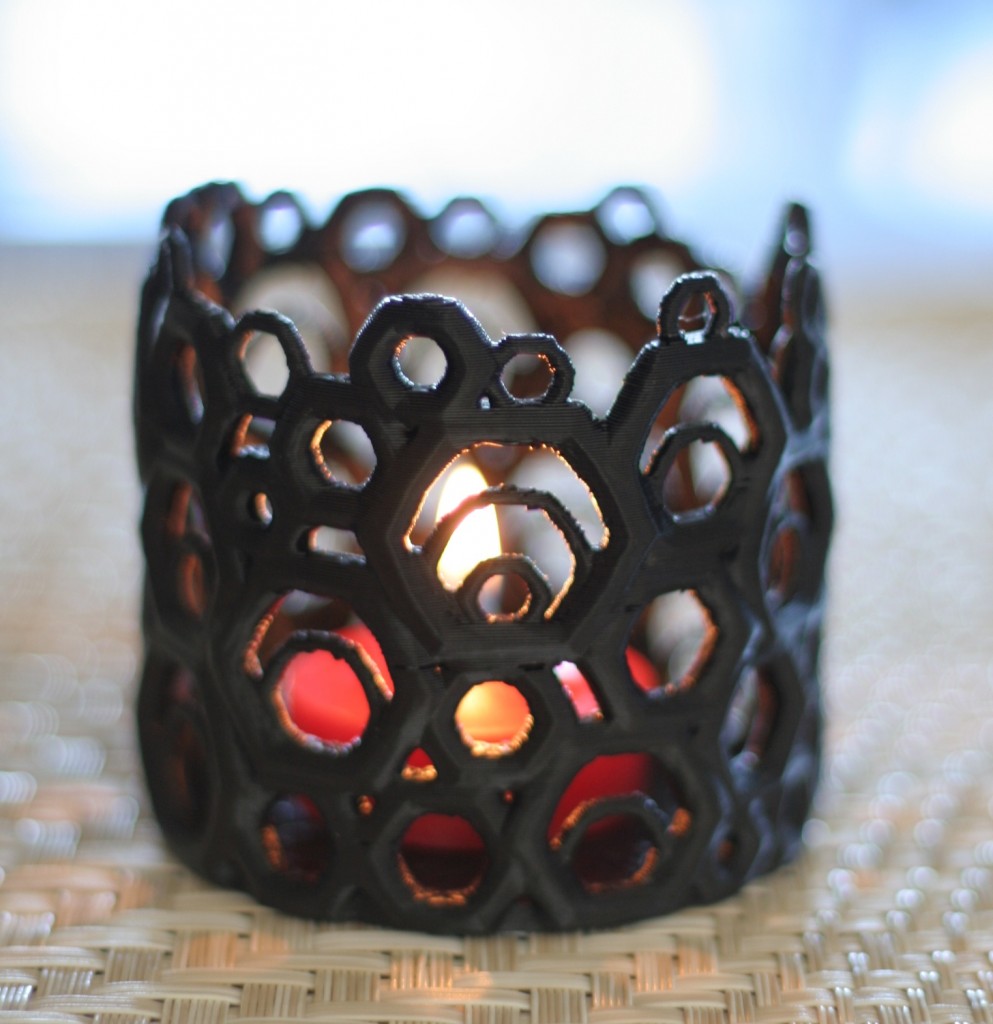
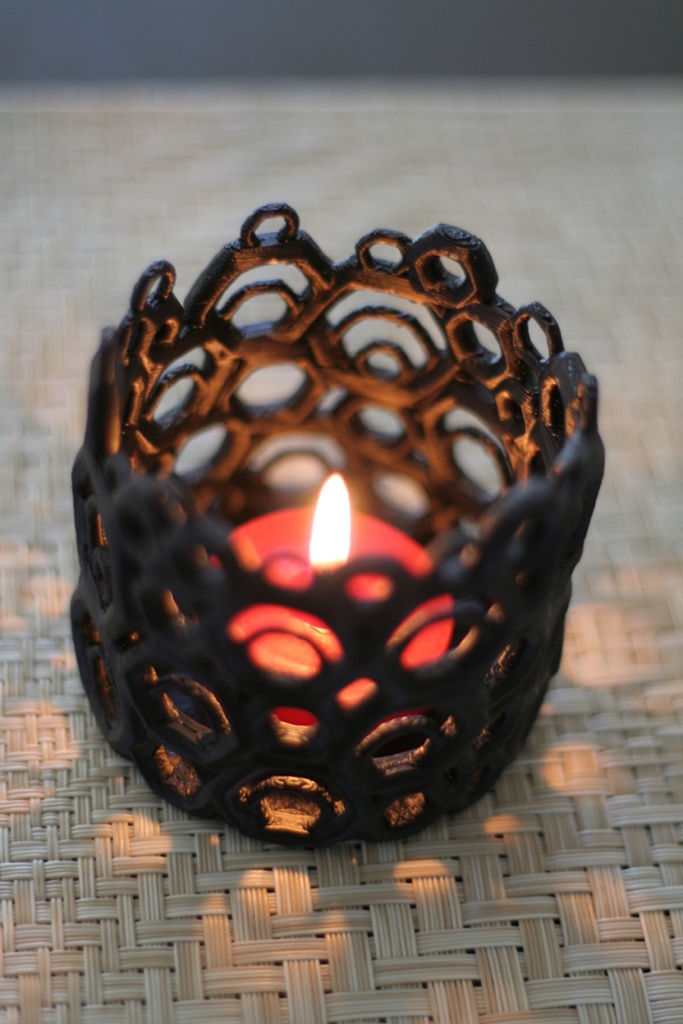
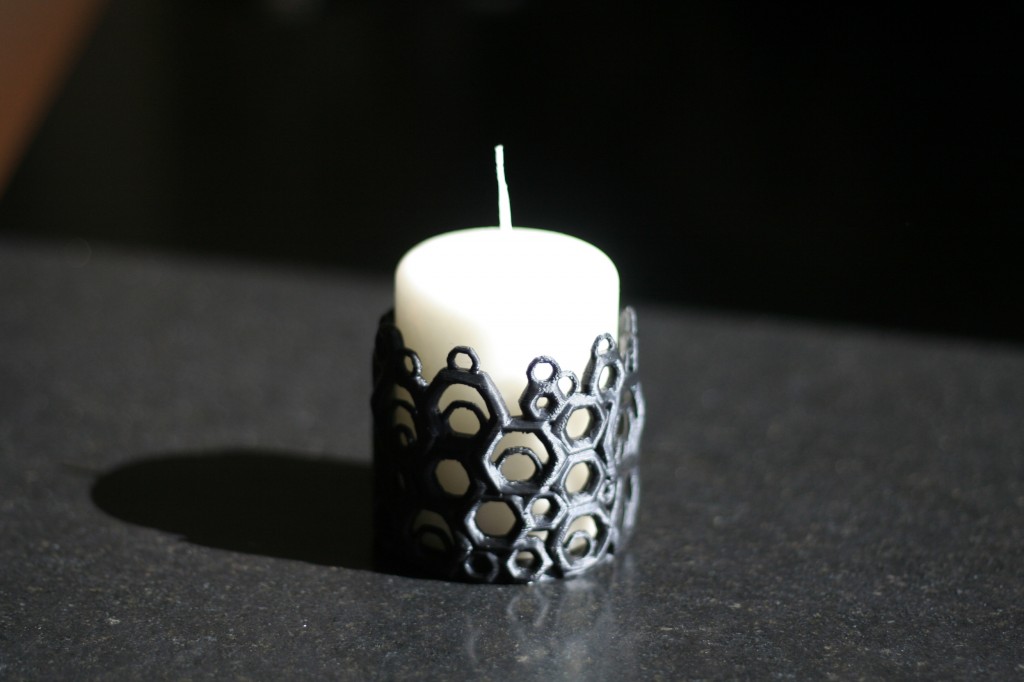
Last night I took a couple hours modeling up a candle-holder in Maya using hexagonal polygonal mesh.  Was an enjoyable process creating Python scripts for the generation and attaching of the mesh to the NURBS cylinder I used for the overall volume.  The whole thing took just under four hours to print on my Makerbot Replicator.

It easily fits a votive candle, or any other candle less than 2 1/4″ in diameter.  See more info on it, and download the .stl file for printing over on Thingiverse.

Ikea candle has a home.