Building the C-Bot 3D printer: Part 15 : Software Day 1
Jump to C-Bot blog index to see all the posts.
Update: Since authoring this post I have switched my electronics to RADDS, and my firmware to Repetier. See the “Part 31 post” for the latest on it.
Instaling Marlin
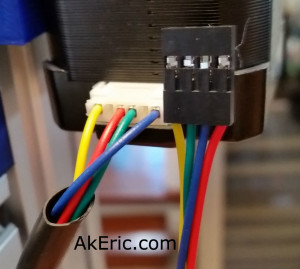
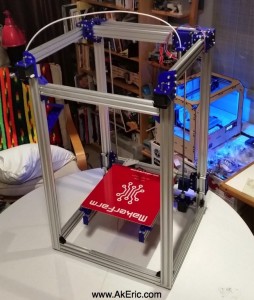
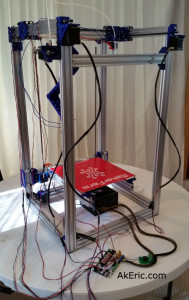
Once all the wiring was mocked up, was time to get Marlin installed: The Rumba already had a cut of Marlin on it, but I need an updated version turning on the coreXY mechanics.
Spent probably 4 hours on this….
The steps I went though were:
Installed latest Arduino IDE.
Downloaded zip of Marlin off of GitHub.
Copied the unzipped /Marlin-Release/Marlin subfolder to my /Documents/Arduino folder.
Copied the unzipped/Marlin-Release/ArduinoAddons/Arduino_1.5.x/hardware subfolder to my /Documents/Arduino/hardware folder.
Followed the “Quick Started Guide to program” on the Rumba page to do the initial tweaks to Marlin.
Uploaded and, the LCD screen stopped working >:-(
So I went to the RepRapDiscount Smart Controller page to glean what it had to say: I wants you to set your board type to ’30’, which ain’t a Rumba, and other things that didn’t seem to apply to my board.
Mason sent me his cut of Marlin, and after I got it installed my LCD came back. I need to diff files and see what I did wrong and he did right. He did remember that he ‘had to go modify the LCD code to get it to work’. Scary!
Tuning the stepper drivers
(Note, I have since replaced these with DRV8825’s, check out this post to see a better way to tune them up).
Once the LCD was working, I could start manually tuning the A4988 motor stepper drivers. My previous post talks about the math to calculate the values, but that sort of goes out the window when you turn things on. From the “Motor Calibration” section of the RepRap Wiki, they say:
“Each Pololu has a trimpot located next to the heatsink. The trimpot controls the current that is sent to each motor. Turning the trimpot counter-clockwise reduces the current to the motor, turning it clockwise increases the current to the motor.
Start by adjusting the trimpot down until your motor vibrates on the spot rather than turning cleanly. Now turn the trimpot in a clockwise direction in small increments (1 eighth of a turn) until the motors just start running. Then give the trim port a final turn of about 1 eighth of a turn and your should be good to go.”
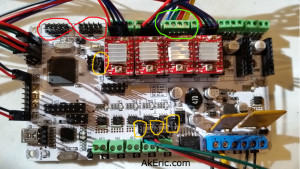
So I did a bunch of that and got the X/Y steppers working, + the extruder. But I couldn’t get my dual-Z steppers to work. I had both stepper wires running into the same green terminal blocks. Mason suggested maybe I connect one to the terminal blocks, and the other to the pins behind it: That made things seemingly work better, but the z-stage still wouldn’t move. I loosened the couplings that hold the leadscrews to the steppers, and then they’d start to turn. But if I tighten them back up, no movement. Currently stuck here. Grrr…
Jump to C-Bot blog index to see all the posts.

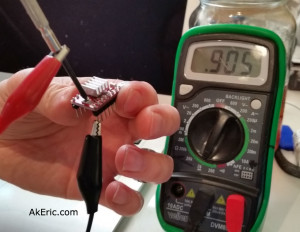 There appear to be a variety of ways of setting the current limit, but a way that Mason used is this : Using alligator clips, connect one lead from your multimeter to the ground pin on the A4988, and the other to a small screwdriver: You can then put the screwdriver in the trimpot and check the resistance : For the A4988, you want to set it to just under 2.5x what the stepper can draw (you can find this formula under the ‘Current Limiting’ section of the A4988 page linked to above). My stepper can draw 1.68A, that divided by 2.5 would be .672, or 672 ohm on my multimeter. Note, after going through all these steps, I learned that the value on the multimeter actually needs to 10x that amount: So I’ll got just a bit under, and set it to 6500 ohm. It should be noted that other stepper drivers have different values. For example, the DRV8825 (what Mason’s using) divides by 2, not 2.5.