Archive for the ‘ projects ’ Category

Latest 3d print: Botmobile

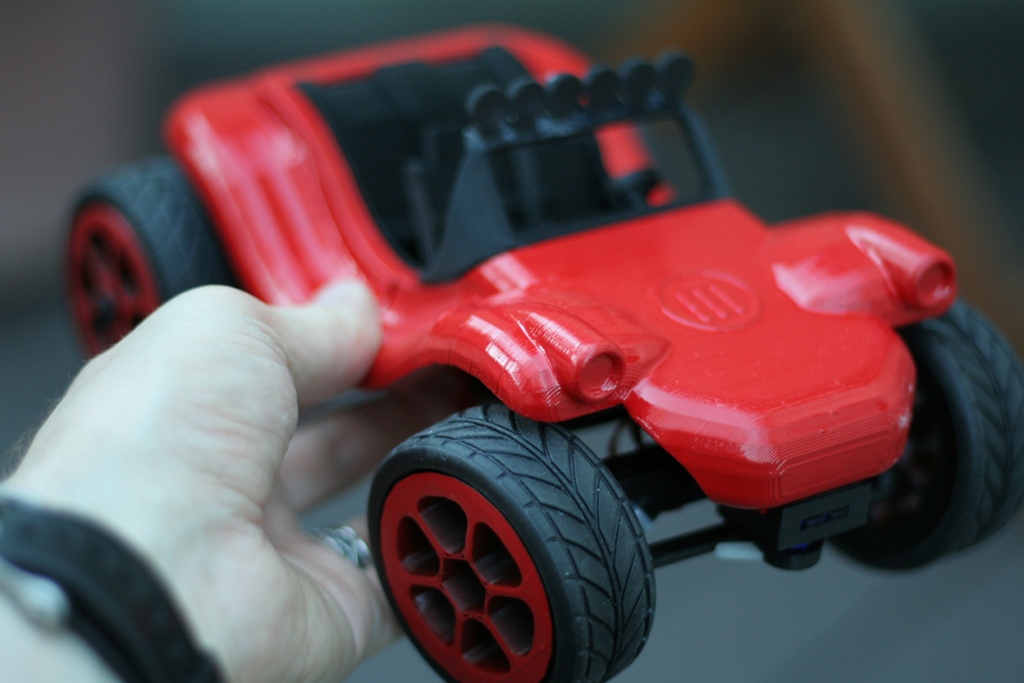
I thought it would be a good experiment to try 3d printing something ‘more complex’ on my Replicator:  Enter the “Botmobile”

First off, some pics!

Here’s all the 3d parts printed out, plus the electronics kit… which is no longer available in the Makerbot Store:  I talked with Makerbot support, they’ve discontinued it :-(

And here’s the finished thing:

It was quite a process to get everything printed out, but overall, really enjoyable and I didn’t encounter any problems.  I printed everything out in black ABS, and then spray-painted the body and wheels cherry-red (same as the previous bowl I printed).  The assembly went off without a hitch, and other than having to slightly adjust the front steering servo, it started driving right away.  Overall, I wouldn’t call it a ‘high performance’ RC vehicle:  Already the gearbox is starting to strip (and I can’t figure out why, it seemed pretty tight when assembled), and the front wheels hit the battery-box when turning sharp (underneath, in the middle) if you don’t trim it right.   But it does drive around and steer, so mission accomplished there.

Everyone’s been asking how long it took to print.  I’ve had little luck successfully using the ‘accelerated’ setting on my Replicator, so it’s all been ‘standard print times’.  There were multiple files to print, here’s the time estimates for each:

  • Windshield: 1h 7 min
  • Rear Axel: 1h 34 min
  • Back half of body: 4h 51 min
  • Front half of body: 5h 22 min
  • Gearbox: 2h 21 min
  • Interior seats: 2h 57 min
  • Front steering assembly: 1h 44 min
  • Wheels (all four): 8h 41 min

So that adds up to 28 hours 37 minutes.  It didn’t seem that long though:  Most of the long prints I did overnight:  I hooked up the printer to my a light timer (the type you plug your lights into when you go on vacation so you can turn them on\off at a certain time), and would set it to auto-turn off the printer about half hour after the print should finished.  Worked perfectly every time, didn’t have any misprints.

As of the time I printed it, I’m one of four people who have ‘made it’ on Thingiverse.  So it’s a unique feeling to know that… not many people on the planet have a 3d-printed RC car.  Here’s a few more pics:

New gizmo: MakeyMakey

I recently supported the Kickstarter campaign for the MakeyMakey, and it just arrived in the mail.

Just like the tutorials showed, it’s ridiculously easy to setup:  Plug it in over USB, skip the driver install, and start goofing around.  The first thing I did was turn some flowers my wife put on my table into a drum-kit:

Next I connected it to my wife, so whenever we’d touch we’d hear cymbals.

Later, I made the obligatory banana-piano.  Worked great.

Not sure what I’m going to do with it… but I’m sure it’ll be awesome.


Latest prints: Beer openers, big sledgehammer

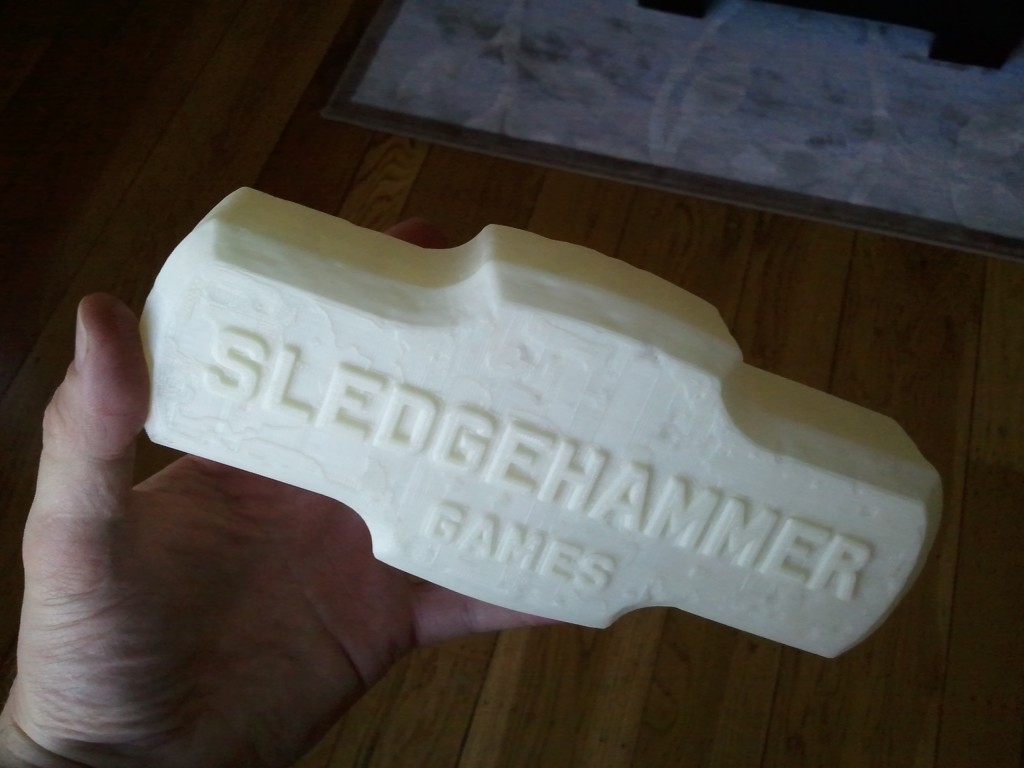
I’ve finally successfully printed a life-sized sledgehammer.  It doesn’t look half bad:

It also took 7.5 hours to print with 5% infill.  But worth it?  Yes.  Next is spray-paint.

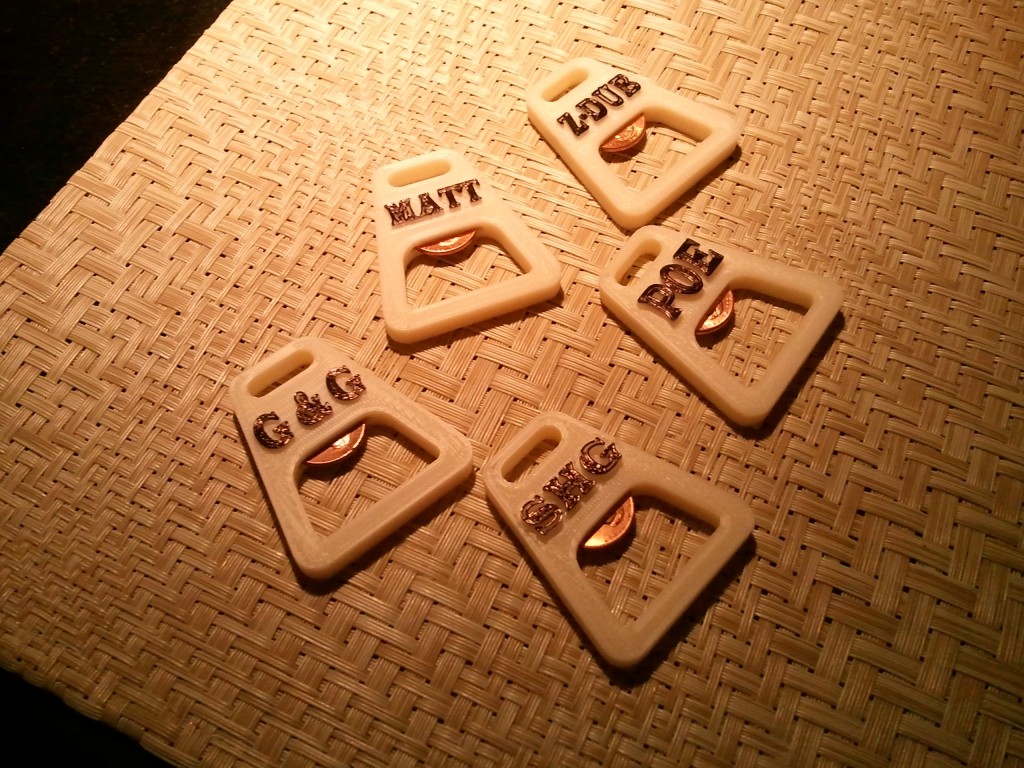
Also been printing some custom beer-bottle openers, based on this thing:

I created the text & modified the mesh in Maya, exported as obj, converted to stl via MeshLab, and converted to gcode in ReplicatorG.  Made the text black with a Sharpie 😉

Today, I melted metal

Some of my early memories are of exploring my grandfathers workshop in Colorado Springs, CO.  They had a Craftsman style home with a nice deck out front and huge trees in the back inhabited by opinionated squirrels.  In the corner of the basement, near the sprawling octopus furnace (used to be coal-fired, straight out of a scary-movie), his tiny workshop existed:  It was a magical place where sunlight crept in the single small window illuminating dust motes settling on a variety of magical items (for a young grade-schooler): Transparent models of V8-engines, drill-presses, lathes, wood-working tools, and all the amazing things Grandfather had created, many of which were aluminum cast in sand.  One of the coolest was a cast-aluminum ‘bear-paw’ gas pedal.  Those memories have stuck with me to this day, and for the longest time I’ve had the urge to melt and cast metal.  Today I made the first steps to making that happen.

People ask me what my goal is with this:  A few months back I picked up a Makerbot Replicator.  I’ve been having issue with it, and will have a proper post when it’s all sorted out (hopefully very soon).  Conceptually, I want to make generative volumetric art via Processing or Python, print it via the Replicator, and then cast it in aluminum\bronze.  I know how to 3d print, I know how to program, but I don’t know how to melt metal.  Well, as of today I do.

Researching the subject I picked up the book “The Flowerpot Crucible Furnace” by Lionel Oliver II, and it was the perfect introduction I was looking for.  It walks you through the steps from creating a furnace out of a flowerpot (and a few other ingredients) to melting aluminum in it.  I actually made the furnace last year, but wasn’t until the stars aligned today I was actually able to melt metal in my backyard.

Enough words, time for pics and vids!

Here is the initial setup:

From bottom to top:  Hair-drier (blower), steel tube connecting blower to furnace, crucible (loaded with aluminum chunks), flowerpot furnace, crucible tongs, dross\slag (junk that sits on top of melted aluminum) bucket, furnace lid, cupcake tin (for making ingots).

Here’s a shot of the crucible (filled with chunks of aluminum) in the furnace, surrounded by charcoal (already lit in the bottom):

In this video, I’ve put the lid on, and turned on the blower for the first time.  When I put my shadow over the exhaust hole you can see it glowing red already:

In this video, I ‘reload’ the crucible by removing the top of the furnace, re-seat the crucible, and add aluminum.  You’ll see a piece of metal sticking out of the crucible that hasn’t yet melted.  There’s a reason for that…  In the process I drop a briquette into the crucible, and remove it with a spoon.  I found it interesting that no aluminum stuck to the briquette:

In this video, I pour the aluminum into the cupcake pan.  You’ll notice the long piece of metal is no longer present.  It didn’t melt:  It was steel 😉  It was removed.

Here’s a shot of the final product, with the ingots on the left:

And a shot of me with my new cupcakes 😉

So what is next?  I need to build a sand-casting table so I can start the process of actually doing something with this metal.  In the meantimes I’ll be enjoying my cupcakes.

Big thanks to my father for both providing me a bunch of scrap aluminum, and fabricating the crucible :)


Eggbot LED Lamp

I’ve had it in the back of my head for a long time to make some type of lamp with LED’s.  And with the arrival of the Ostrich Egg-Bot and its diamond etcher, I had the concept of spray-painting some egg-like object, and etching away a pattern to let light through.  Below is my first attempt at such a thing. Did it work out just like I had envisioned?  Not quite.  But it was a great learning experience, and I’m in a much better place if I decide to do it again.

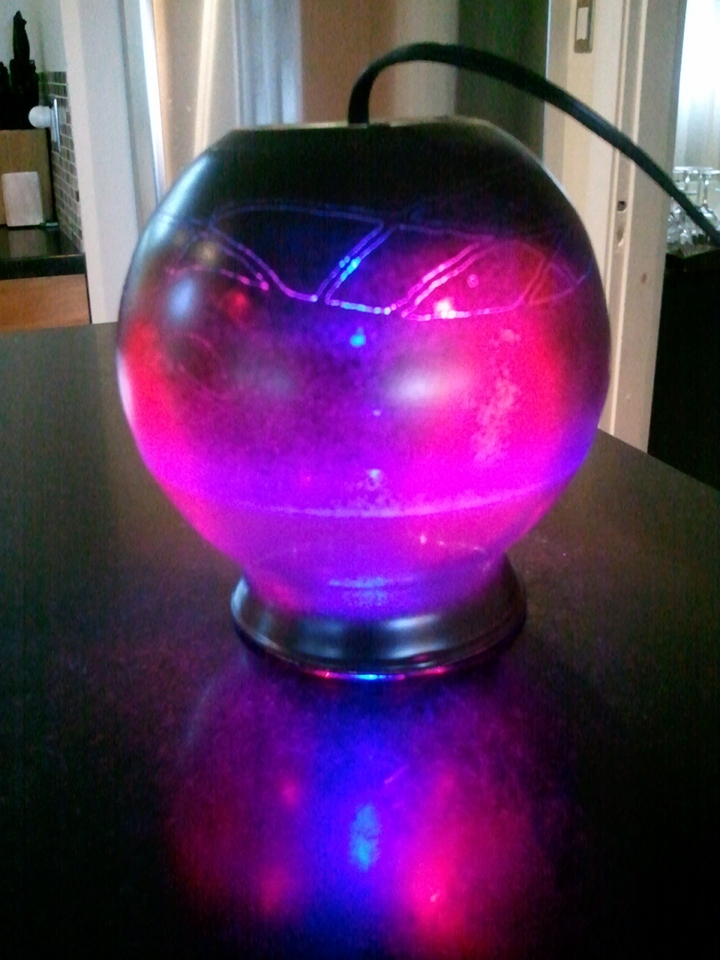
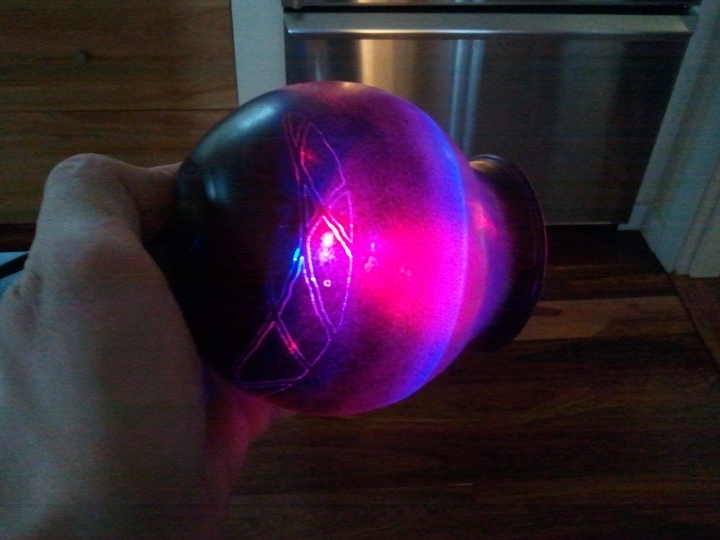
The finished product

I started out by purchasing a simple glass vase at the dollar-store, drilling a hole through its base for the power-cord (which was surprisingly hard even with the special ‘glass drillable bits’ I purchased).  I spray-painted it matte-black on the bottom, and sort of faded the paint up the side so it’d be more transparent at the top.  I designed a simple pattern in Inkscape, which the Ostrich Eggo-bot then etched onto the now-painted glass vase:

Etching in progress...

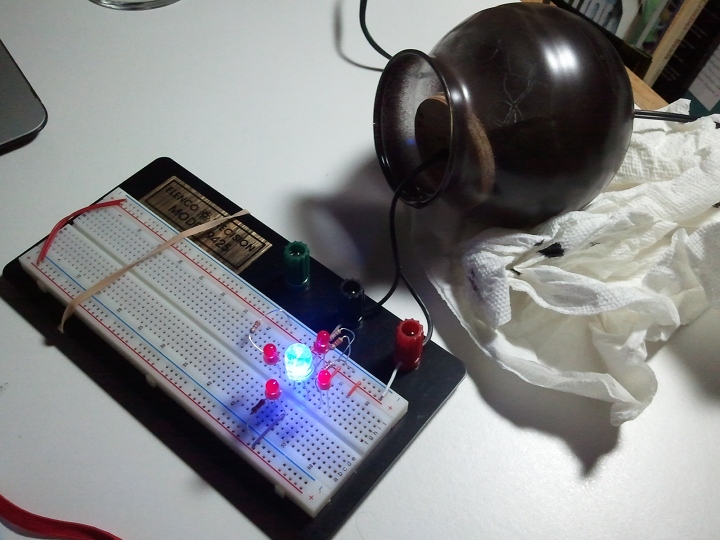
Upon completion of that, I selected four LED’s for the inside of of the light:  A high-power blue for the middle, and four high-power red’s that would shine out the sides.  My hope was the red LED’s would show off the etching.  As a mounting platform for the LED’s I cut a round piece of wood from a piece of scrap plywood, then drilled holes in it for the LED leads, and the power-cable.  I grabbed an old wall-wart, cut off the end, and threaded it through the hole in the vase and my wood disk. I wired that into a breadboard with appropriate resistors:

Breadboard!

Finding success there, I hot-glued the led’s into the wood disk:

From there I started the process of soldering the resistors to the positive leads, twisting all the positive leads together and soldering to the power-cord.  I used black electrical tape as a simple barrier between the positive and negative leads when I soldered second:

Plugged it in to make sure it worked….

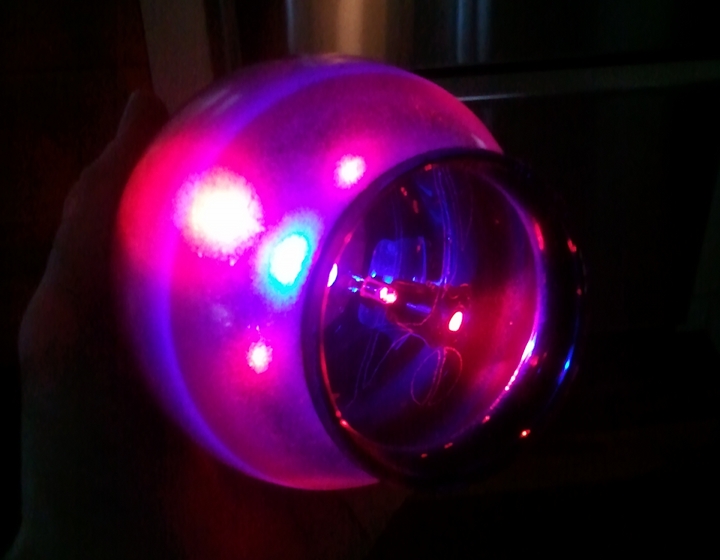
Pulled the power-cord back into the vase (it was a tight fit, so friction is enough to hold it in place) and had the finished product:

Things learned:

  • If I do this again, I’ll put the etching lower on the lamp:  It will be easier to see and show-off.
  • Need to get LED’s that have a wider angle:  These are fairly focused, so don’t diffuse as much in the lamp as I’d like.
  • The lines of the etching itself are very thin:  I’d find a way to make the etched-away areas larger.