Archive for the ‘ projects ’ Category

Raspberry Salad…

…or Groovy Pi.
One of my favorite internet radio stations is soma fm, and in particular, their Groove Salad station.  I figured what better to do than to turn my Raspberry Pi into a Groove Salad music streamer.

After searching the internets, I came upon MPlayer, which you can execute via the command-line.  To install on the Pi:

$ sudo apt-get install mplayer

Then to start streaming Groove Salad via it’s playlist:

$ mplayer http://streamer-dtc-aa01.somafm.com:80/stream/1018

I got the address info by downloading the pls file from soma fm, opening it in a text-editor and extracting that line.

Plug in some headphones (or better yet, hook it to your stereo), and you’re good to go!
Go to Raspberry Salad Part 2: Raspberry FM

Printing PLA with the Replicator

I’ve been printing in ABS since receiving my Replicator last year.  Today I finally made the switch over to PLA.  The ‘why’ is mainly to try something new… see how a new medium prints.  But there are other benefits:

  • PLA doesn’t need to have the HBP (heated build platform) heated to 110 deg Celsius like ABS does :  I read it dosen’t need to be heated at all, but many people find success at around 40 deg C.  What this means is the HBP heats a lot faster…. meaning things print faster.
  • You don’t have to affix kapton tape to the HPB:  ABS sticks really well to kapton tape, and that’s why it’s used.  But it’s difficult and time consuming to get the tape applied to the HPB:  PLA can print on ‘blue painters tape‘, which is much more forgiving when being applied to the HBP.
  • PLA is biodegradable:  More ‘green’ than ABS.

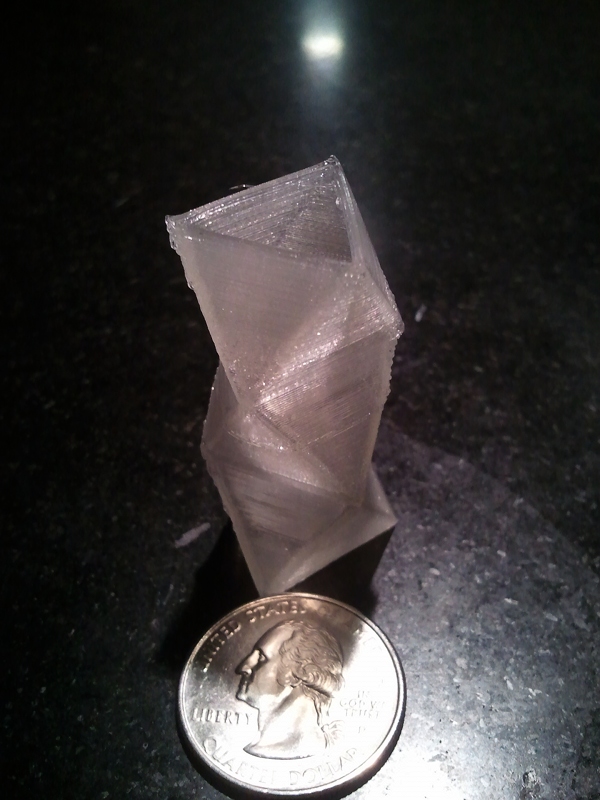
First test run successfull, pic below.  Some notes on the process:

  • Extruder temp set to 210 deg C.
  • HBP temp set to 40 deg C.
  • Purged the ABS by ‘loading’ the PLA for 5 minutes straight, per online docs.
  • GCode compiled via ReplicatorG 0040, Replicator firmware 6.2.
  • Used ‘natural’ colored PLA, it’s semi-transparent.

I’m still getting a ‘bug’ where when during the pre-heat, filament ‘leaks’ out of the extruder nozzle.  On the ABS it would happen slowly, but with the PLA, I can physically see it leak out.  The side effect is the ‘anchor’ it first builds on the corner of the HBP doesn’t always fully form… which can screw up the start of the printing session.  But this first print tured out a-ok.

Tiny PLA vase : Success!

B-day & xmas loot

Scored quite a few cool books this year for the birthday\Christmas season:

Books include:

In addition to the books, I got a Microrax starter set, which I built the above book-holder with.

Time to start reading!

Sad Replicator, Happy Replicator

Last weekend I printed out this Makerbot Snowman for a ‘secret-Santa’ gift exchange:

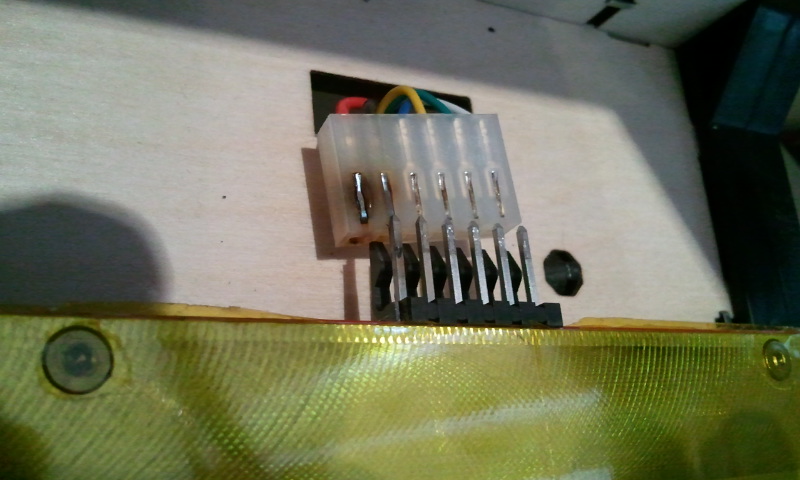
All together took around 7 hours.  The next day I went to do another print.  But something was wrong.  The Heated Build Platform wasn’t ‘heating’… it was stuck on 14 degs.  Upon closer inspection I saw this:

(it was plugged in at the time, un-plugged for drama)

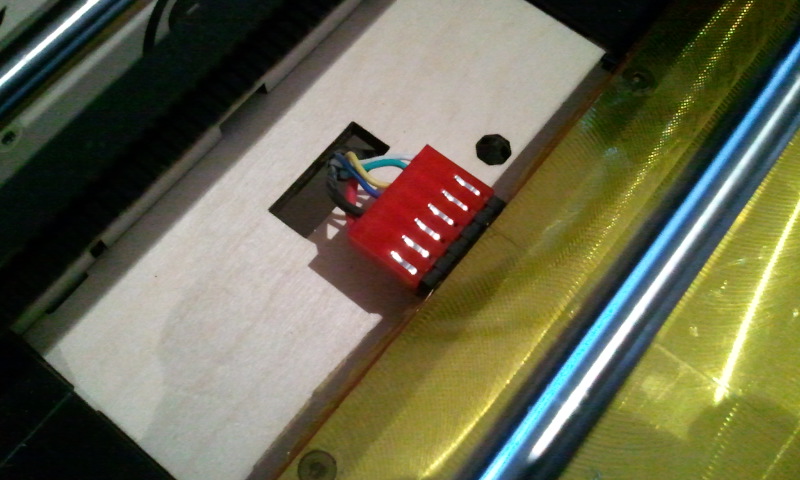
Fried.  Contacted Makerbot tech-support, and 5 days later I had a new wire & connector in-hand, no charge.  Plugged it all together:

And now it’s happily printing again.  It’s probably hard to tell from the pics, but the positive and negative leads on the new connector are a larger gauge:  Support said that the newer models ship with the larger wires, presumably because of these issues.


Weekend Project: Man-Cave Workbench

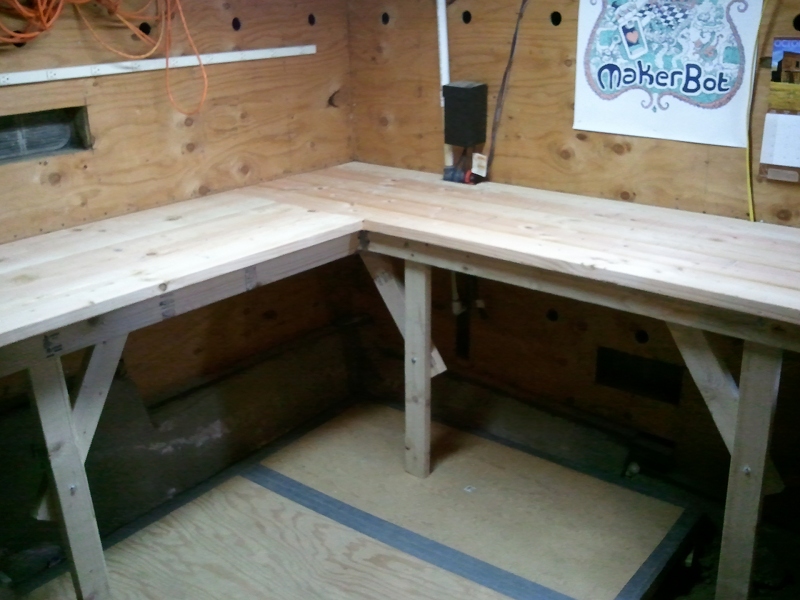
The dirt-floored underside of my small house is storage\my workshop (aka Man-cave).  It came with a single 2’x5′ workbench… but I really needed some more space for non-digital projects.  After clearing out a corner and leveling an old queen-sized plywood\2×4 box-spring (my father had assembled) on some bricks, I was ready to fabricate the new workbench.

For strength, I mounted it directly to the shear walls (installed for earthquake proofing here in CA).  The top is all 2×6’s, and the frame\legs are all 2×4’s.  Bought all the joist hangers, wood, screws & bolts from Home Depot, the whole thing came together over the course of a weekend for about $90,  not too bad.  And now I have a workbench built like a tank.

Phase 1: 2x4's screwed to shear walls, ribs on the floor with joist hangers attached.

Phase 2: Framing in-progress...

Phase 3: Framing complete, legs bolted together.

Phase 4: Complete!