Building the C-Bot 3D printer: Part 7 : Organizing the hardware
Jump to C-Bot blog index to see all the posts.
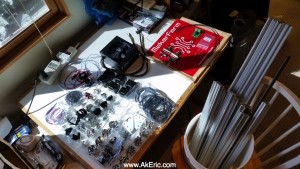
When working on electronic projects, rather than go hunting through little baggies every time I need something, I like to get all my parts laid out visually in front of me. I’ve found that egg-cartons are a great way to do this. In the below pic, it’s prettymuch everything needed to build this printer, except the 3d-printed bits (which you can see in step 5), and few items still in shipment: the Rumba control board (+ LCD screen), some flange-bearings, and the 16-tooth pulleys (plus all the wiring I’ll pick up as needed).
Painfully, I need the flange-bearings before I can start the assembly, so I blog and wait. But, it gives me the time to get everything nice and organized first:
Jump to C-Bot blog index to see all the posts.
