Latest Prints: Innsmouth Monster, and the Hulk
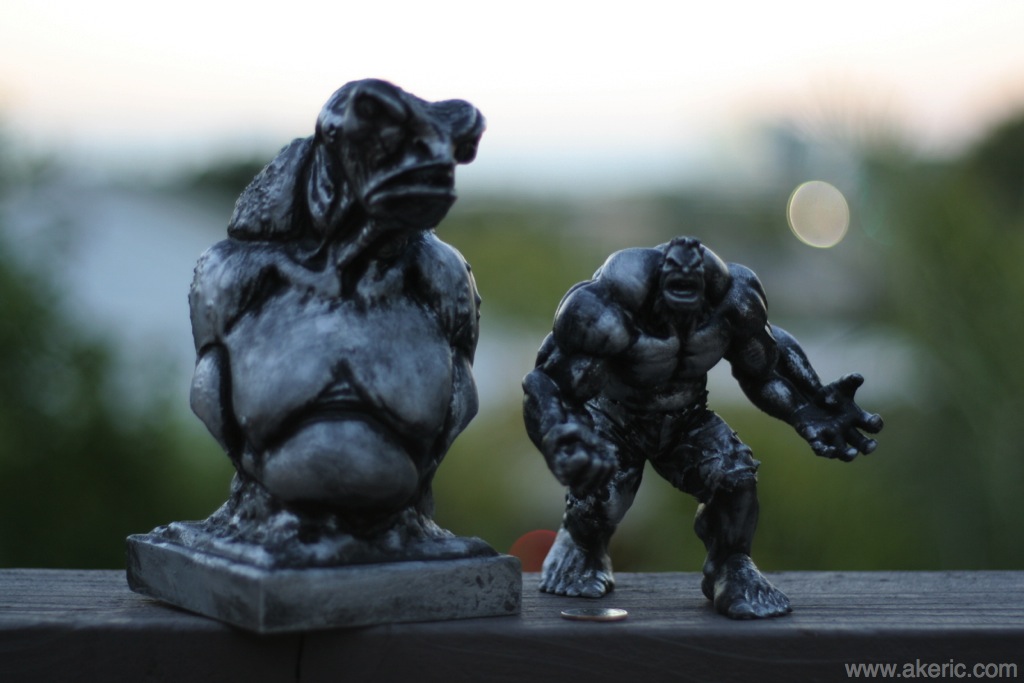
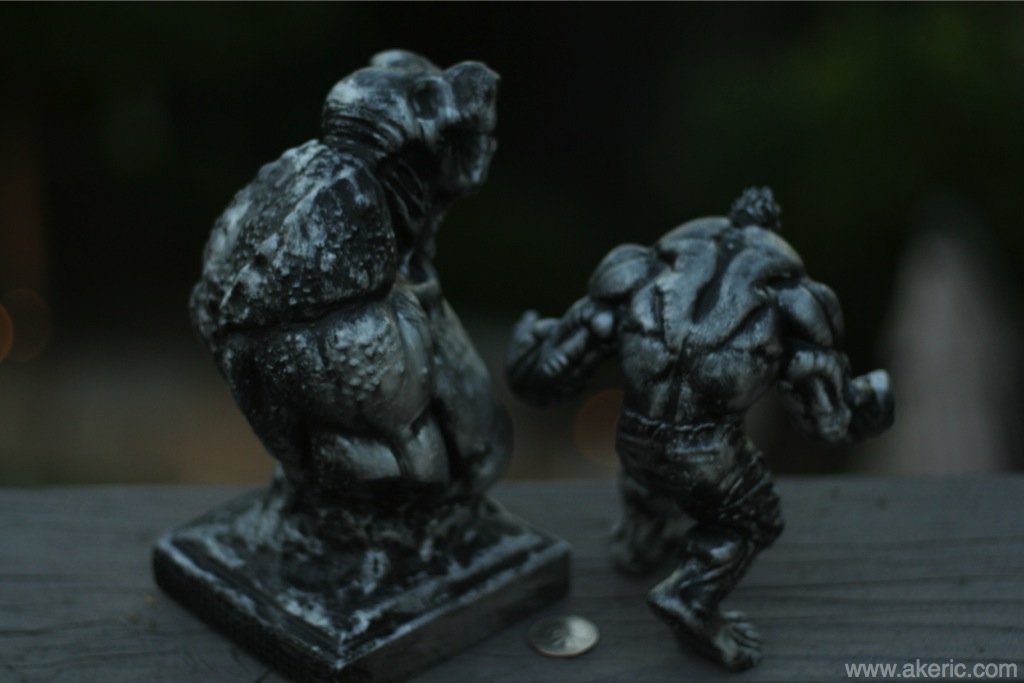
First, a disclaimer: I modeled neither of these prints. Everything up until now were simple designs I’ve come up with. But after showing the work around the office, it piqued the interest of one of our extremely talented modelers, Franco DeRosa. He had interest in turning his ZBrush sculpts into something physical, and I have interest in trying more challenging prints Based on that, the below prints were born. First, the final (painted) results from my Makerbot Replicator, then I’ll cover the process to get there:
Before any of the prints were started, Franco went through the pains of booleaning all the mesh together (since it was originally modeld for visual beauty, not 3d-printing consistency), making sure it was water-tight, and running it though both Meshlab and Netfabb Cloud to make sure of the consistency of the 3d models.
Innsmouth Monster
Franco did an amazing sculpt of the Innsmouth monster, based on the fiction of H.P. Lovecraft. By the end, this print ended up being the largest one (volume-wise) I’ve done to date (but not longest print time). Before I printed the large 9″ version, I printed out multiple smaller ones changing the print orientation : First I tried slicing it bottom to top, but this produced many artifacts under his chin I didn’t like. So I laid it down on its back and printed it that direction, with support material: While it deferred most of the errors to its back, the front looked great, so I decided to print the large version this way. Here are 3.5″ examples I printed at varios resolutions to check how it would look:

Left: 3.5" 100 micron, printed back to front. Middle: 200 micron, back to front. Right: 200 micron, bottom to top.
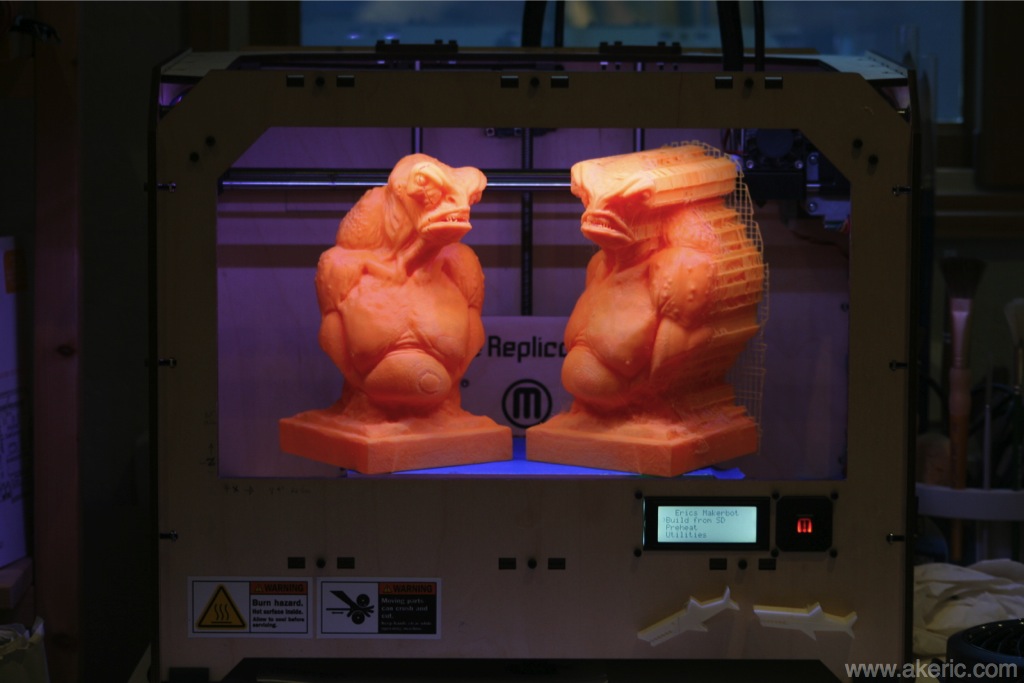
After I figured out the back-to-front print direction was preferable, I set out to print the large versions, at 100 micron. This process ended up being fraught with problems. I had multiple “air print” failures on both of the prints, which I think came down to a couple issues: A. The orange Makerbot filament was tangled, a lot, on the last 1/3 of the spool. I didn’t realize this until later, and ended up unspooling the remainder, and respooling it. After that, no more print problems. B. The print didn’t seem to like printing the front flat base of the pedestal. It would quit (air print) right at that location. My only guess is that all the fine detail caused the printer to slow down, and somehow jammed the print nozzle(?). In all cases I was able to catch it and reload the filament (by random luck), but on the print I kept for myself, I ended up having to fill in the errors with putty & sanded it, before painting.
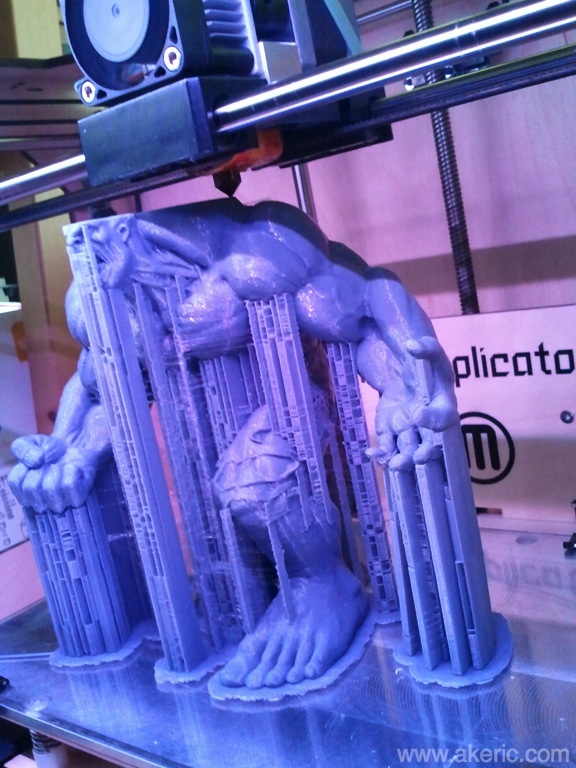
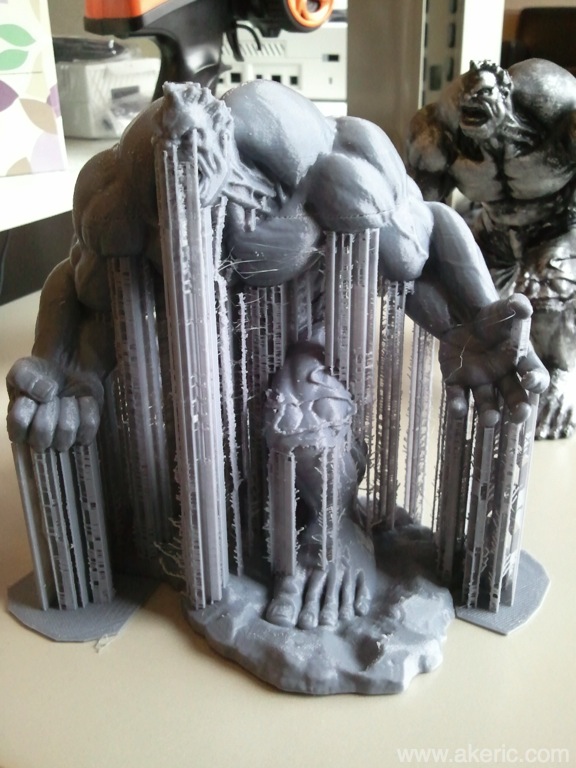
The large 9″ 100 micron versions, in the printer:
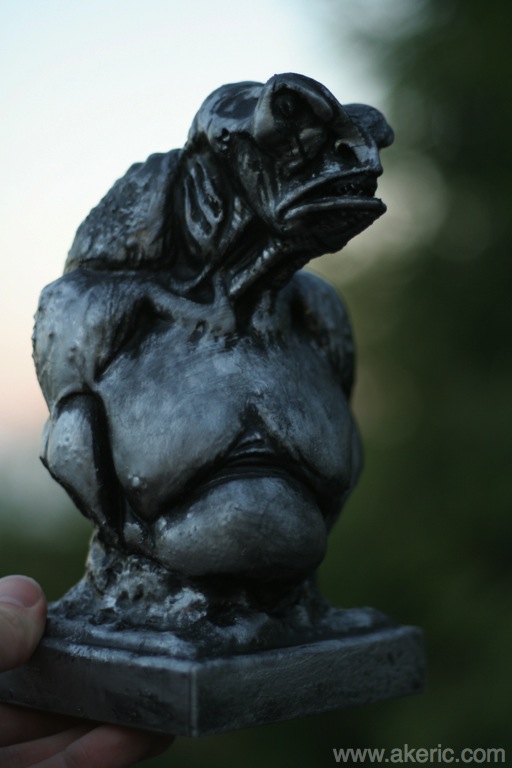
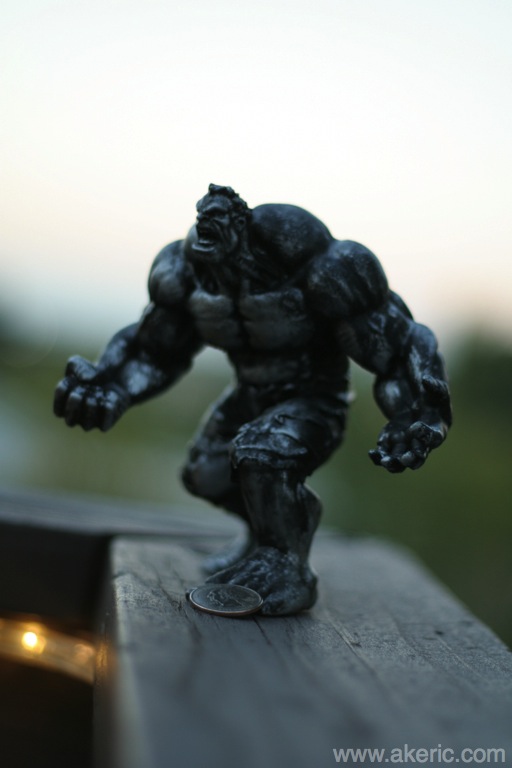
The final painted version looks like a pewter monster-bust:
Print Info:
- Material: Makerbot Orange PLA
- Print temperature: 220c
- Slice height: 100 micron
- Print time: 25hr, 15 min
- Print weight: 183g, additional removed support weight : 53g
- Print surface: Blue Painters Tape (hadn’t yet switched to removable Lexan)
- Print/slice software: Makerware
- Other: Raft, support material
Hulk

Print Info:
- Material: ToyBuilderLabs Gray PLA
- Print temperature: 220c
- Slice height: 100 & 200 micron
- Print + support weight: 198g (for 5.7″ 100 micron)
- Print time: 5.7″ 100 micron: 36 hours. 5.7″ 200 micron: 26 hours. 4″ 100 micron : 16 hours
- Print surface: Removable Lexan
- Print/slice software: Makerware
- Other: Support material
Final Thoughts



Hi Eric-
Beautiful prints!
Have you ever printed things bigger than the build volume of the Makerbot will allow?
I am trying to do this with a Zbrush sculpt but am running into problems.
I have sliced the sculpt up in Zbrush into separate subtools, exporting each as its own STL file
But my problem is when I bring them into Makerbot desktop they are not all the same scale, so I can’t scale them up proportionally. Not sure why this is happening, any suggestions?
I have actually: Nothing I can show\post about (yet) but I do all my work in Maya. I’ve learned that there is a 1:10 scale difference between Maya and Makerware, so it’s easy for me to scale up by a fixed number.
I know the guys I work with use zbrush, and zbrush seems pretty hairy when it comes to exporting stuff and knowing what scale its at. You may want to try bringing your sculpt into some other program that deals with scale better, and do your chopping in there.